
Installing a new clutch kit is a critical maintenance task for any manual transmission vehicle. Whether you’re a seasoned mechanic or a DIY enthusiast, understanding the process and key considerations can ensure a smooth and successful installation.
A properly installed clutch kit enhances driving performance, extends the lifespan of your transmission, and prevents premature wear. In this guide, we’ll cover everything you need to know about installing modern clutch kits, from preparation to post-installation checks.
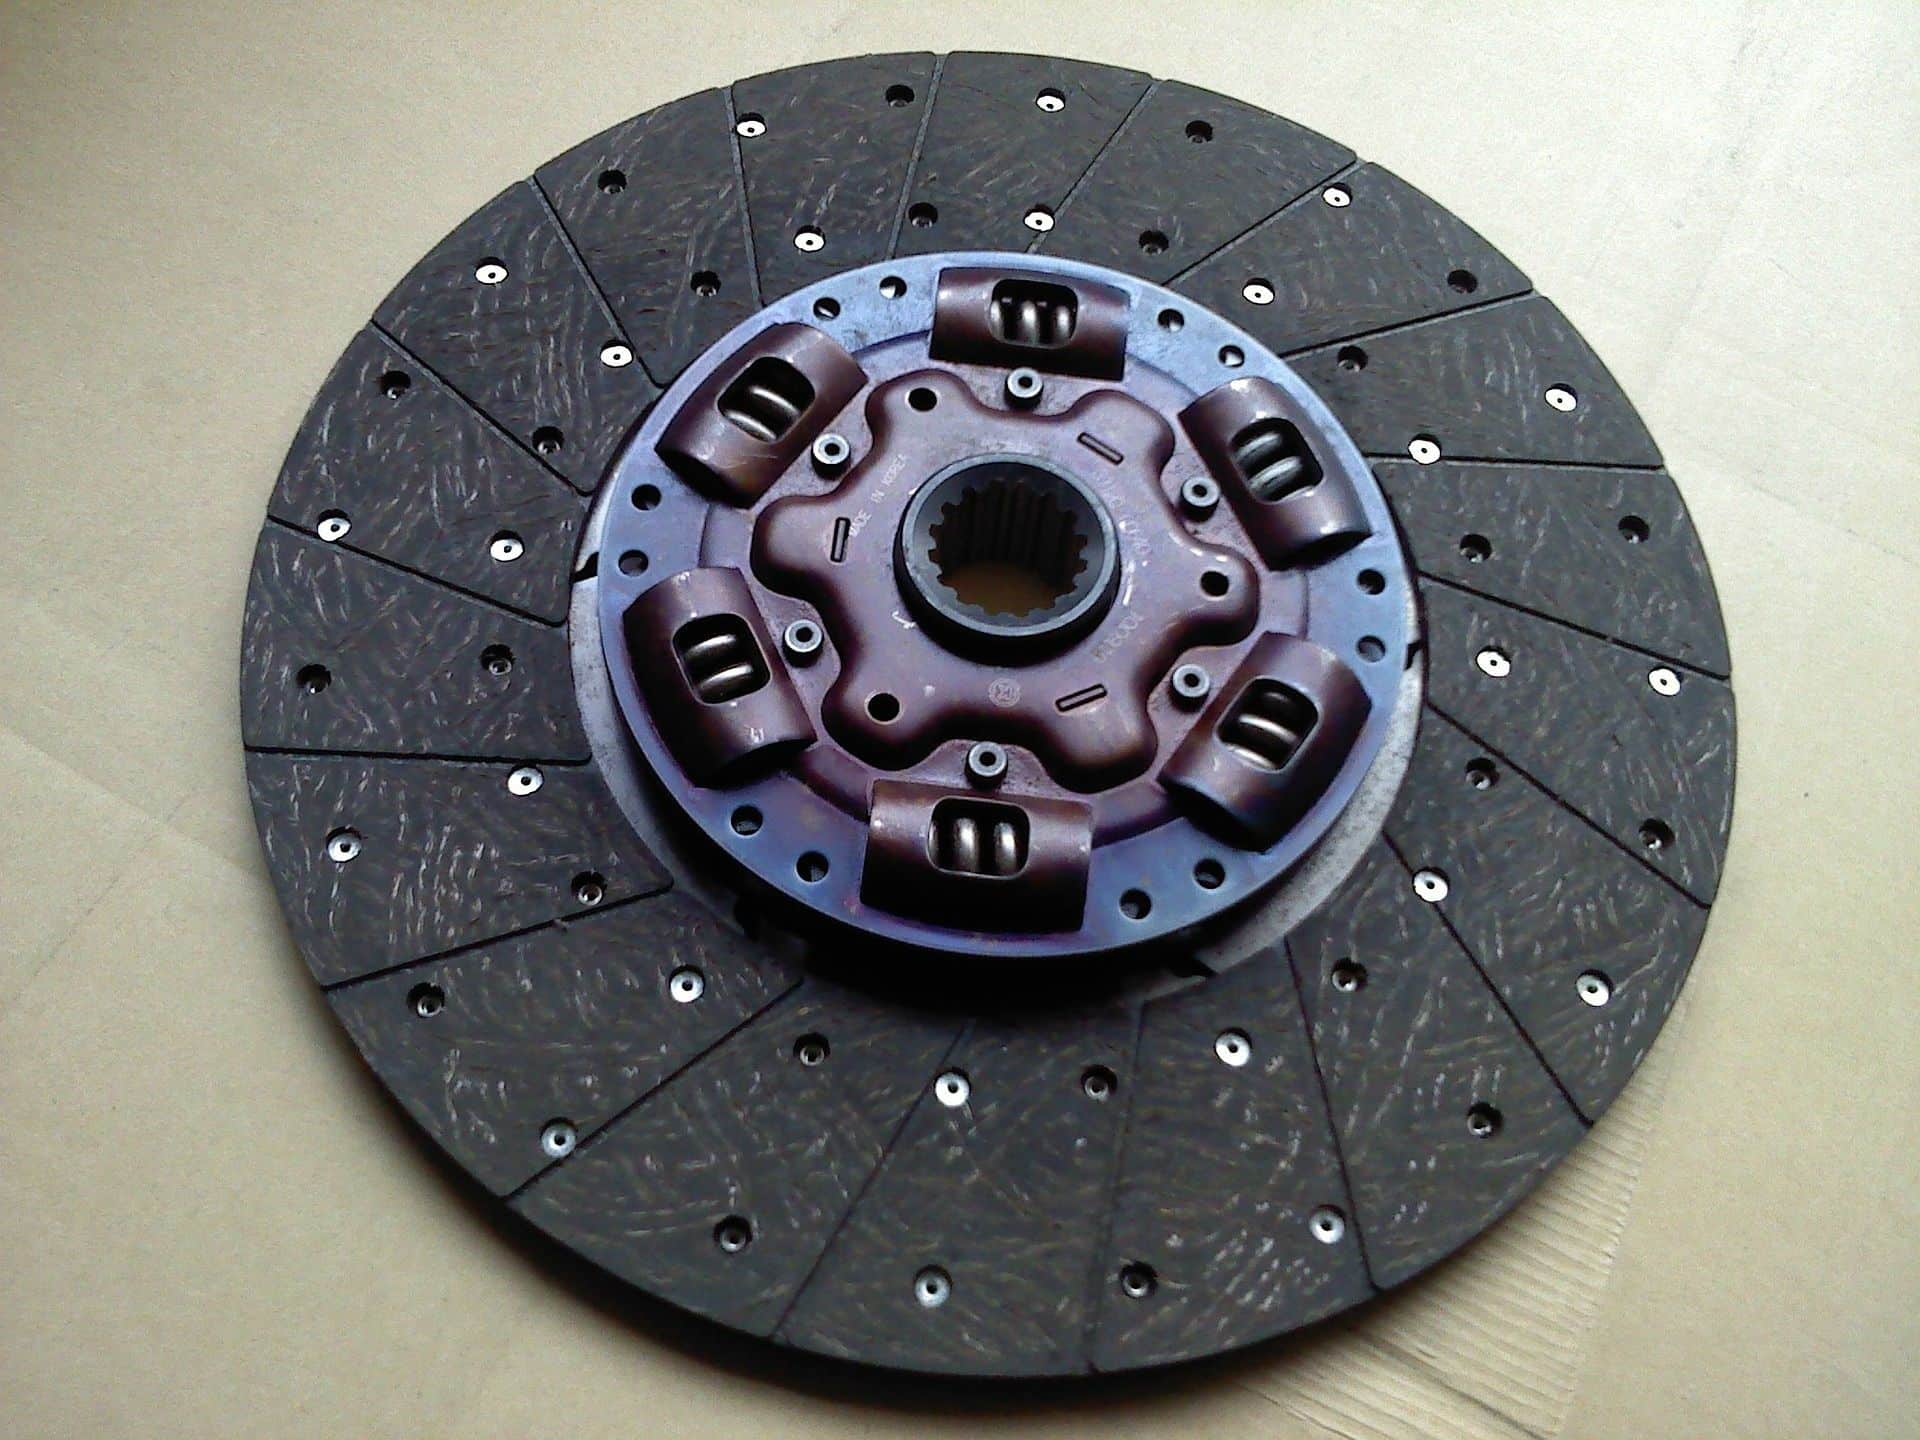
Understanding the Clutch Kit Components
Before diving into the installation process, it’s essential to familiarize yourself with the components of a typical clutch kit. A standard clutch kit includes:
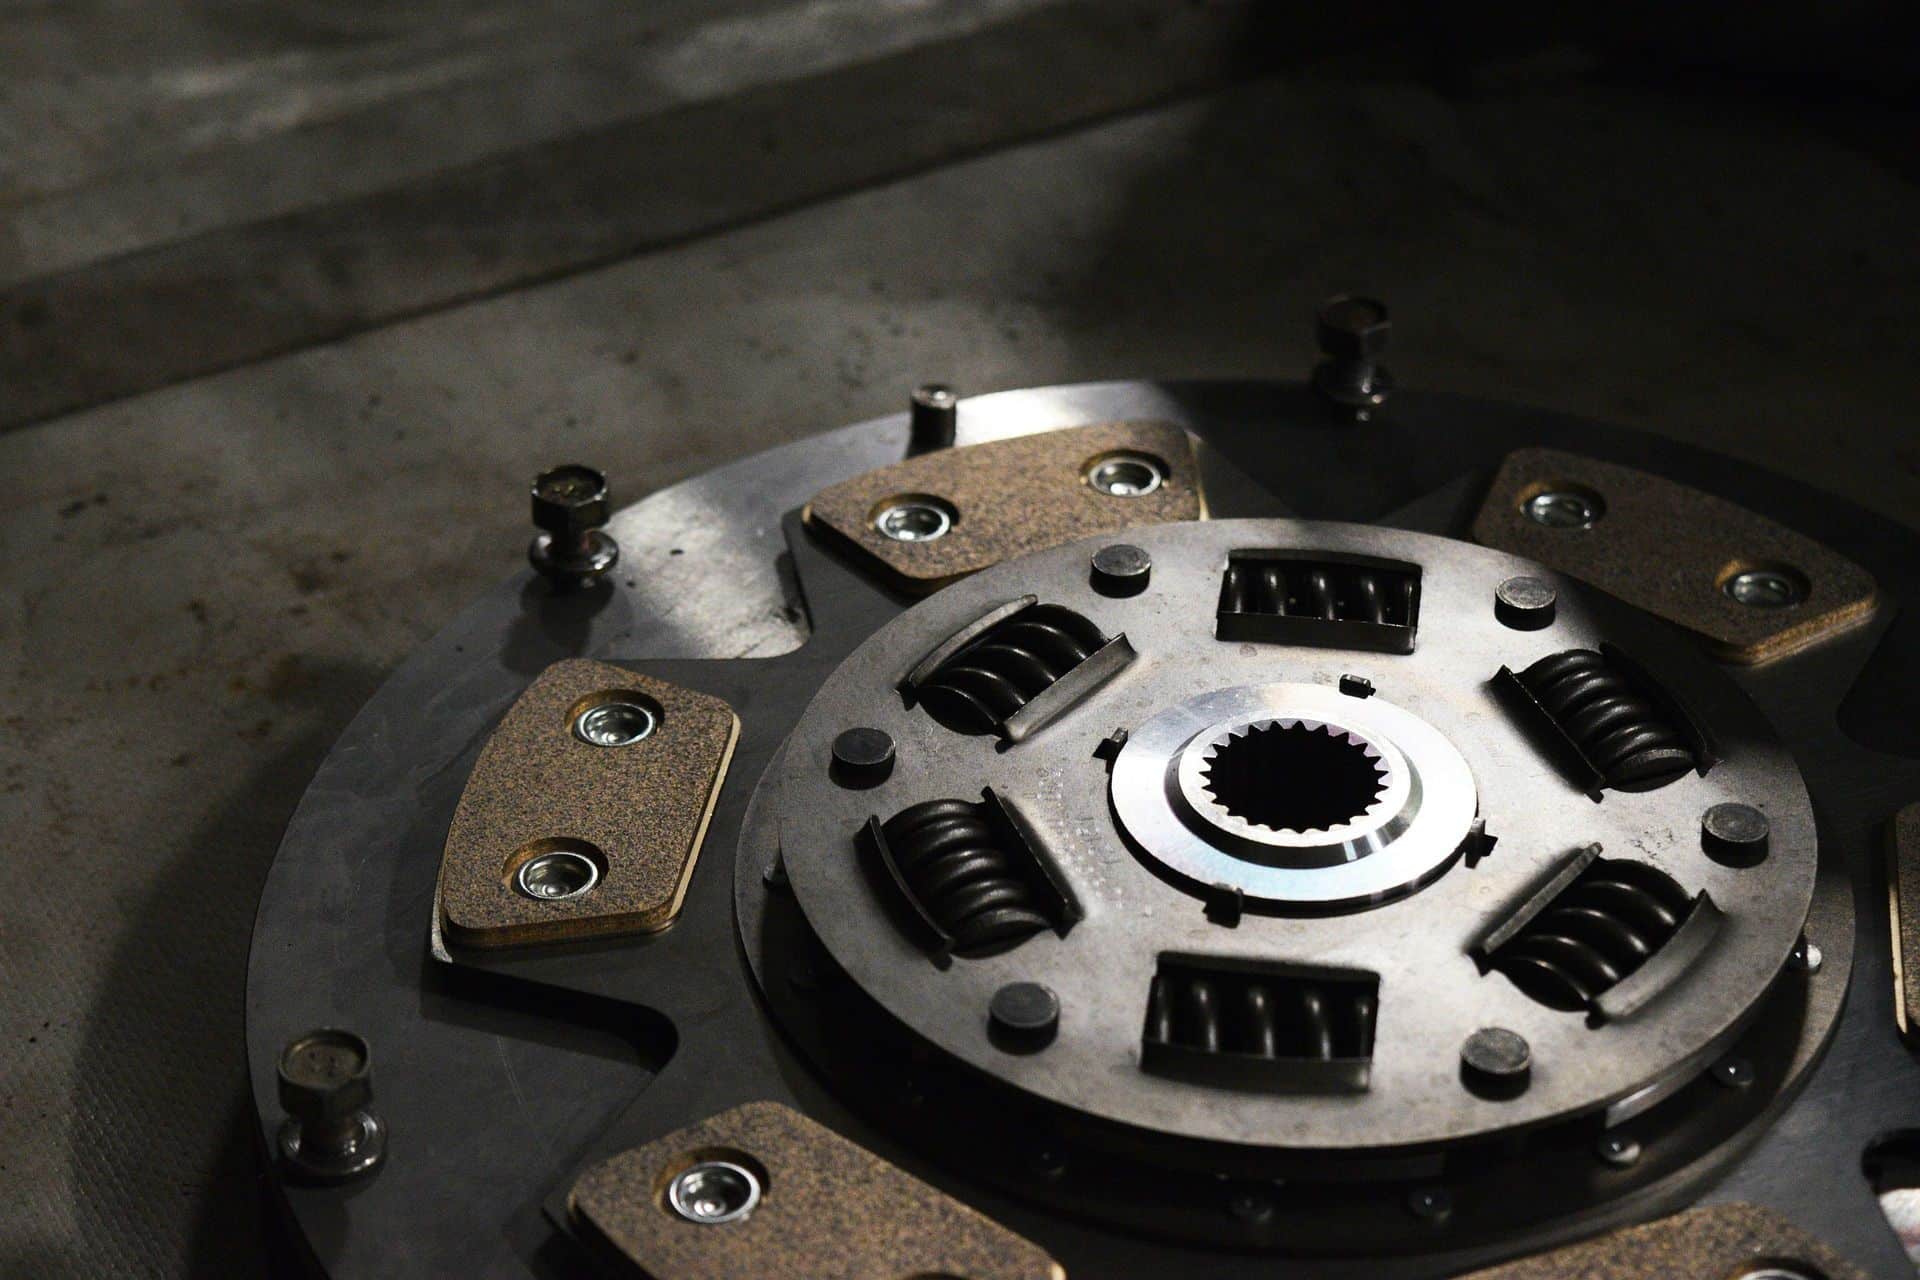
- Clutch Disc – The friction material that engages and disengages the flywheel and pressure plate.
- Pressure Plate – Applies force to the clutch disc, allowing it to transfer power from the engine to the transmission.
- Release Bearing (Throwout Bearing) – Helps disengage the clutch when the pedal is pressed.
- Pilot Bearing/Bushing – Supports the input shaft of the transmission and reduces friction.
- Alignment Tool – Ensures proper centering of the clutch disc during installation.
Some kits may also include additional hardware such as bolts or shims. Always verify that all components are included before starting the installation.
Pre-Installation Preparation
Proper preparation can make the difference between a smooth installation and unnecessary complications. Follow these steps before beginning the process:
1. Gather the Right Tools
You’ll need:
- Floor jack and jack stands
- Socket set and wrenches
- Torque wrench
- Clutch alignment tool (usually included in the kit)
- Brake cleaner
- Lubricants (for the pilot bearing and input shaft splines)
2. Safety First
Ensure the vehicle is securely lifted and supported. Disconnect the battery to prevent accidental electrical issues.
3. Replace Related Components
While replacing the clutch, replace the flywheel as well.
Step-by-Step Clutch Kit Installation
1. Remove the Transmission
- Disconnect the driveshaft, shift linkage, and clutch hydraulic lines.
- Support the transmission with a jack and unbolt it from the engine.
- Carefully slide the transmission away from the engine to access the clutch assembly.
2. Remove the Old Clutch Components
- Unbolt the pressure plate and remove it along with the clutch disc.
- Remove the old flywheel and pilot bearing.
3. Replace the Flywheel
4. Install the New Pilot Bearing
- Lightly lubricate the new pilot bearing and press it into place using an appropriate tool.
5. Align and Install the Clutch Disc and Pressure Plate
- Place the new clutch disc against the flywheel, using the alignment tool to center it.
- Install the pressure plate and hand-tighten the bolts in a crisscross pattern to ensure even pressure.
- Torque the bolts to the manufacturer’s specifications.
6. Install the Release Bearing
- Slide the new release bearing onto the transmission input shaft or clutch fork, depending on your vehicle’s design.
7. Reinstall the Transmission
- Carefully align the transmission input shaft with the clutch disc and pilot bearing.
- Secure the transmission to the engine, ensuring all bolts are properly torqued.
- Reconnect the driveshaft, shift linkage, and hydraulic lines.
8. Bleed the Clutch Hydraulic System (If Applicable)
- If your vehicle has a hydraulic clutch, bleed the system to remove air bubbles, ensuring proper pedal feel.
Post-Installation Checks and Break-In Period
After installation, follow these steps to ensure everything functions correctly:
- Adjust the Clutch Pedal – Ensure proper free play and engagement point.
- Test for Smooth Operation – Start the engine, press the clutch, and shift through all gears to verify smooth engagement.
- Follow the Break-In Period – Most new clutches require a 300-500 mile break-in period. Avoid aggressive shifting or towing during this time to allow the friction material to seat properly.
Common Mistakes to Avoid
- Improper Alignment – Failing to use an alignment tool can lead to clutch drag or difficulty shifting.
- Over-Torquing Bolts – This can warp the pressure plate, causing uneven wear.
- Ignoring Hydraulic System Issues – Worn master or slave cylinders can lead to clutch failure.
Conclusion
Installing a reliable clutch kit is a detailed process that requires patience, precision, and the right tools. By understanding each step and avoiding common mistakes, you can ensure a smooth shift and long-lasting performance.
