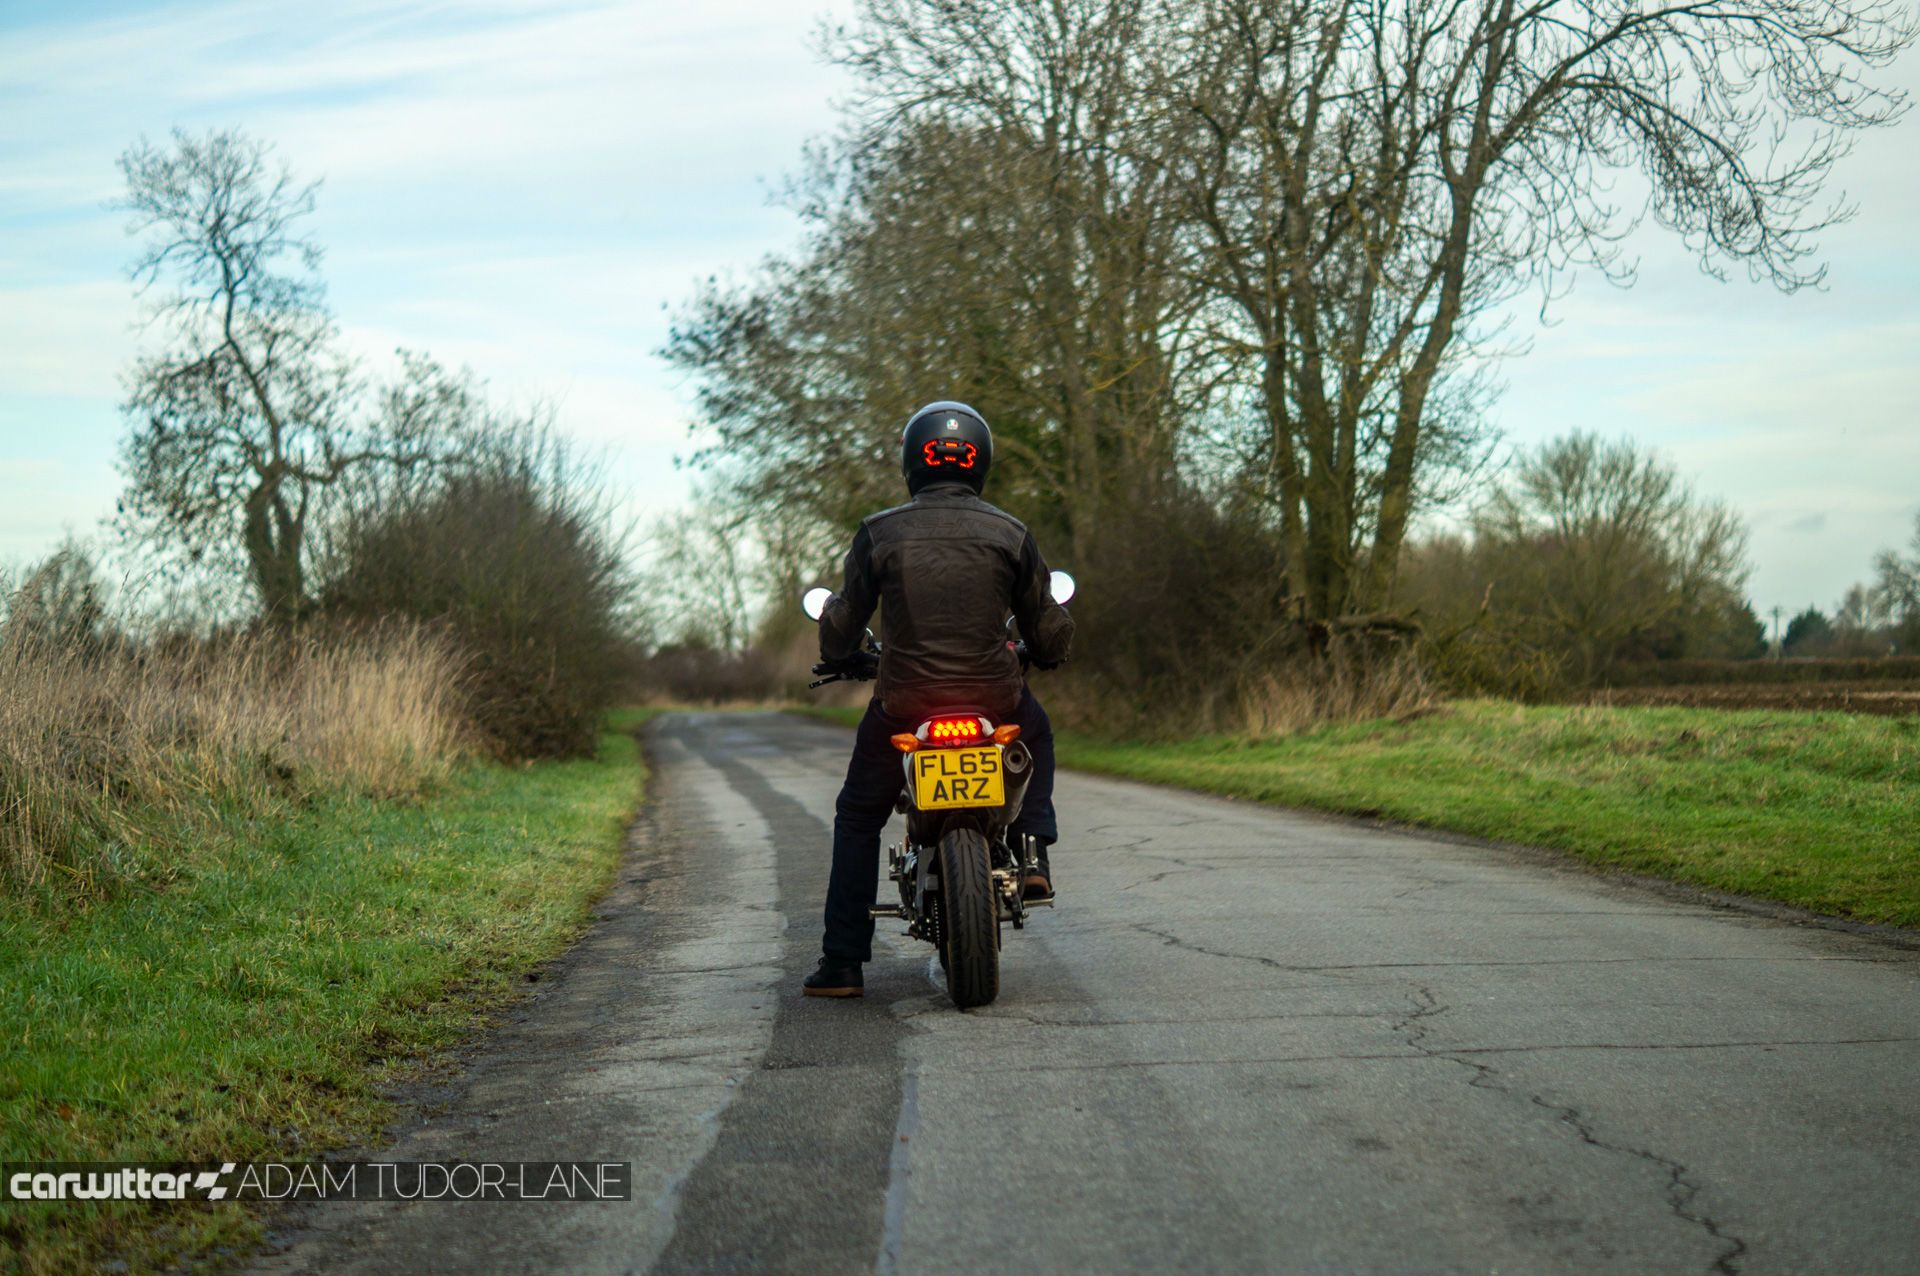
We’ve been ardent supporters of any tech that makes motorcycling safer. When we set out on our road to two-wheel freedom keeping safe was the number one priority, no matter the cost, as you can’t put a price on your existence.
Cue our Helite Roadster Air Jacket – an airbag that inflates if you come off your bike, immobilising your neck, and protecting your thorax and spine. Then there’s our Resurgence Gear PKEV Voyager jeans – the world’s highest-rated CE Level 2 abrasion-rated jean, fully lined with the world’s toughest polymer-based material and fitted with hip and knee armour.
That’s the clothing side of things, but what about visibility? Unless you want to wear a neon yellow crash helmet (let’s face it, not many do), it’s hard to stand out as a motorcyclist. Dark colours (like my brown jacket and navy jeans) also don’t help. Nor do the low-down brake lights as fitted on all bikes.
High-level brake lights aren’t mandatory on cars in the UK but every new car still has them fitted. They have been law in the U.S since 1986 and are shown to improve safety, especially if the right and left rear lamps are obscured. Well, now there’s the option of adding a high-level brake light to your motorcycle, thanks to Brake Free.

What is it?
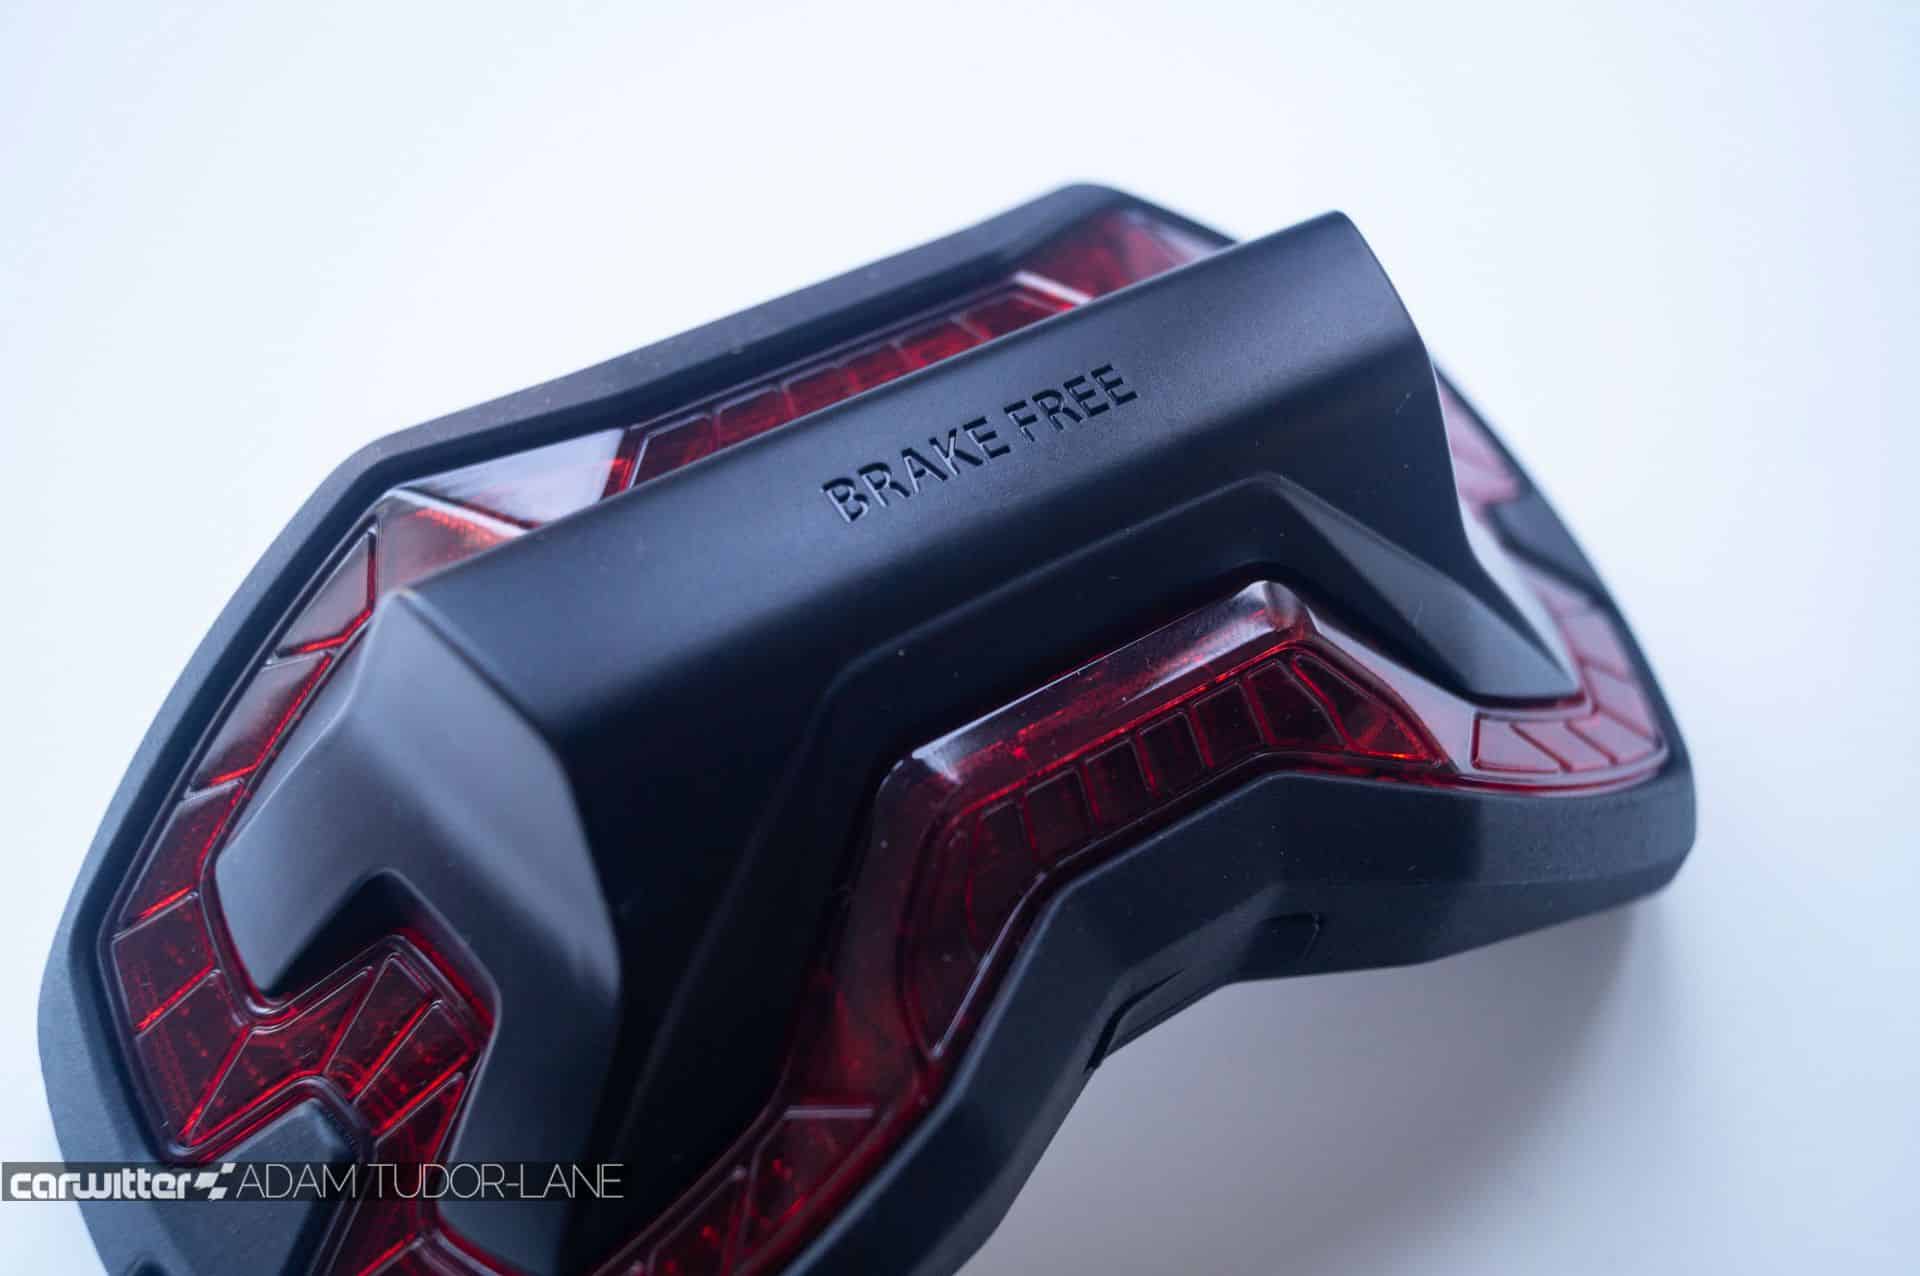
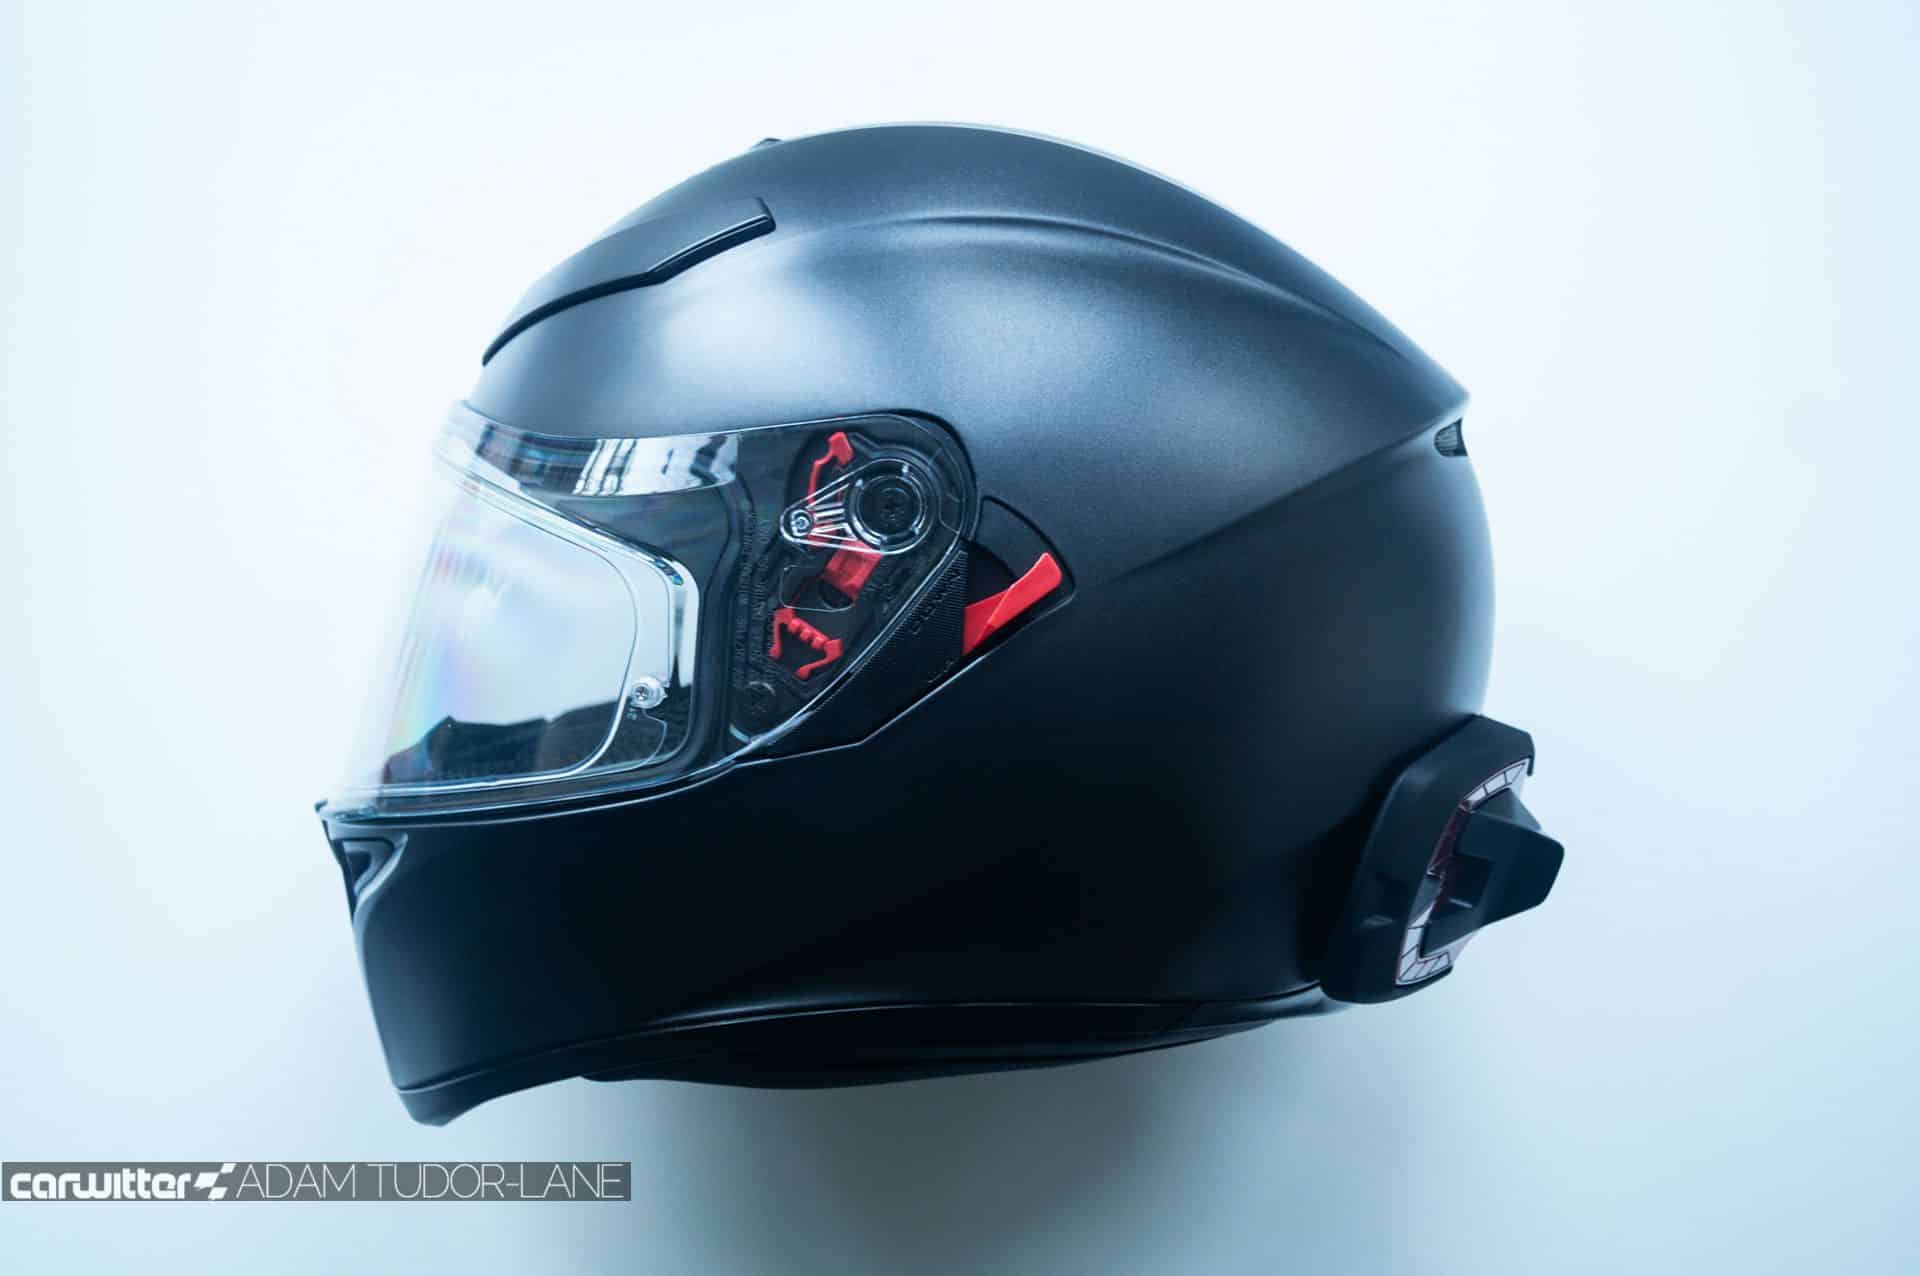
Brake Free is a detachable brake light that can be fitted to the rear of your helmet.
Powered internally by a 3200 mAh battery made up of 18650 lithium-ion cells it has enough charge time for 8-12 hours of riding and a 2 hour recharge time.
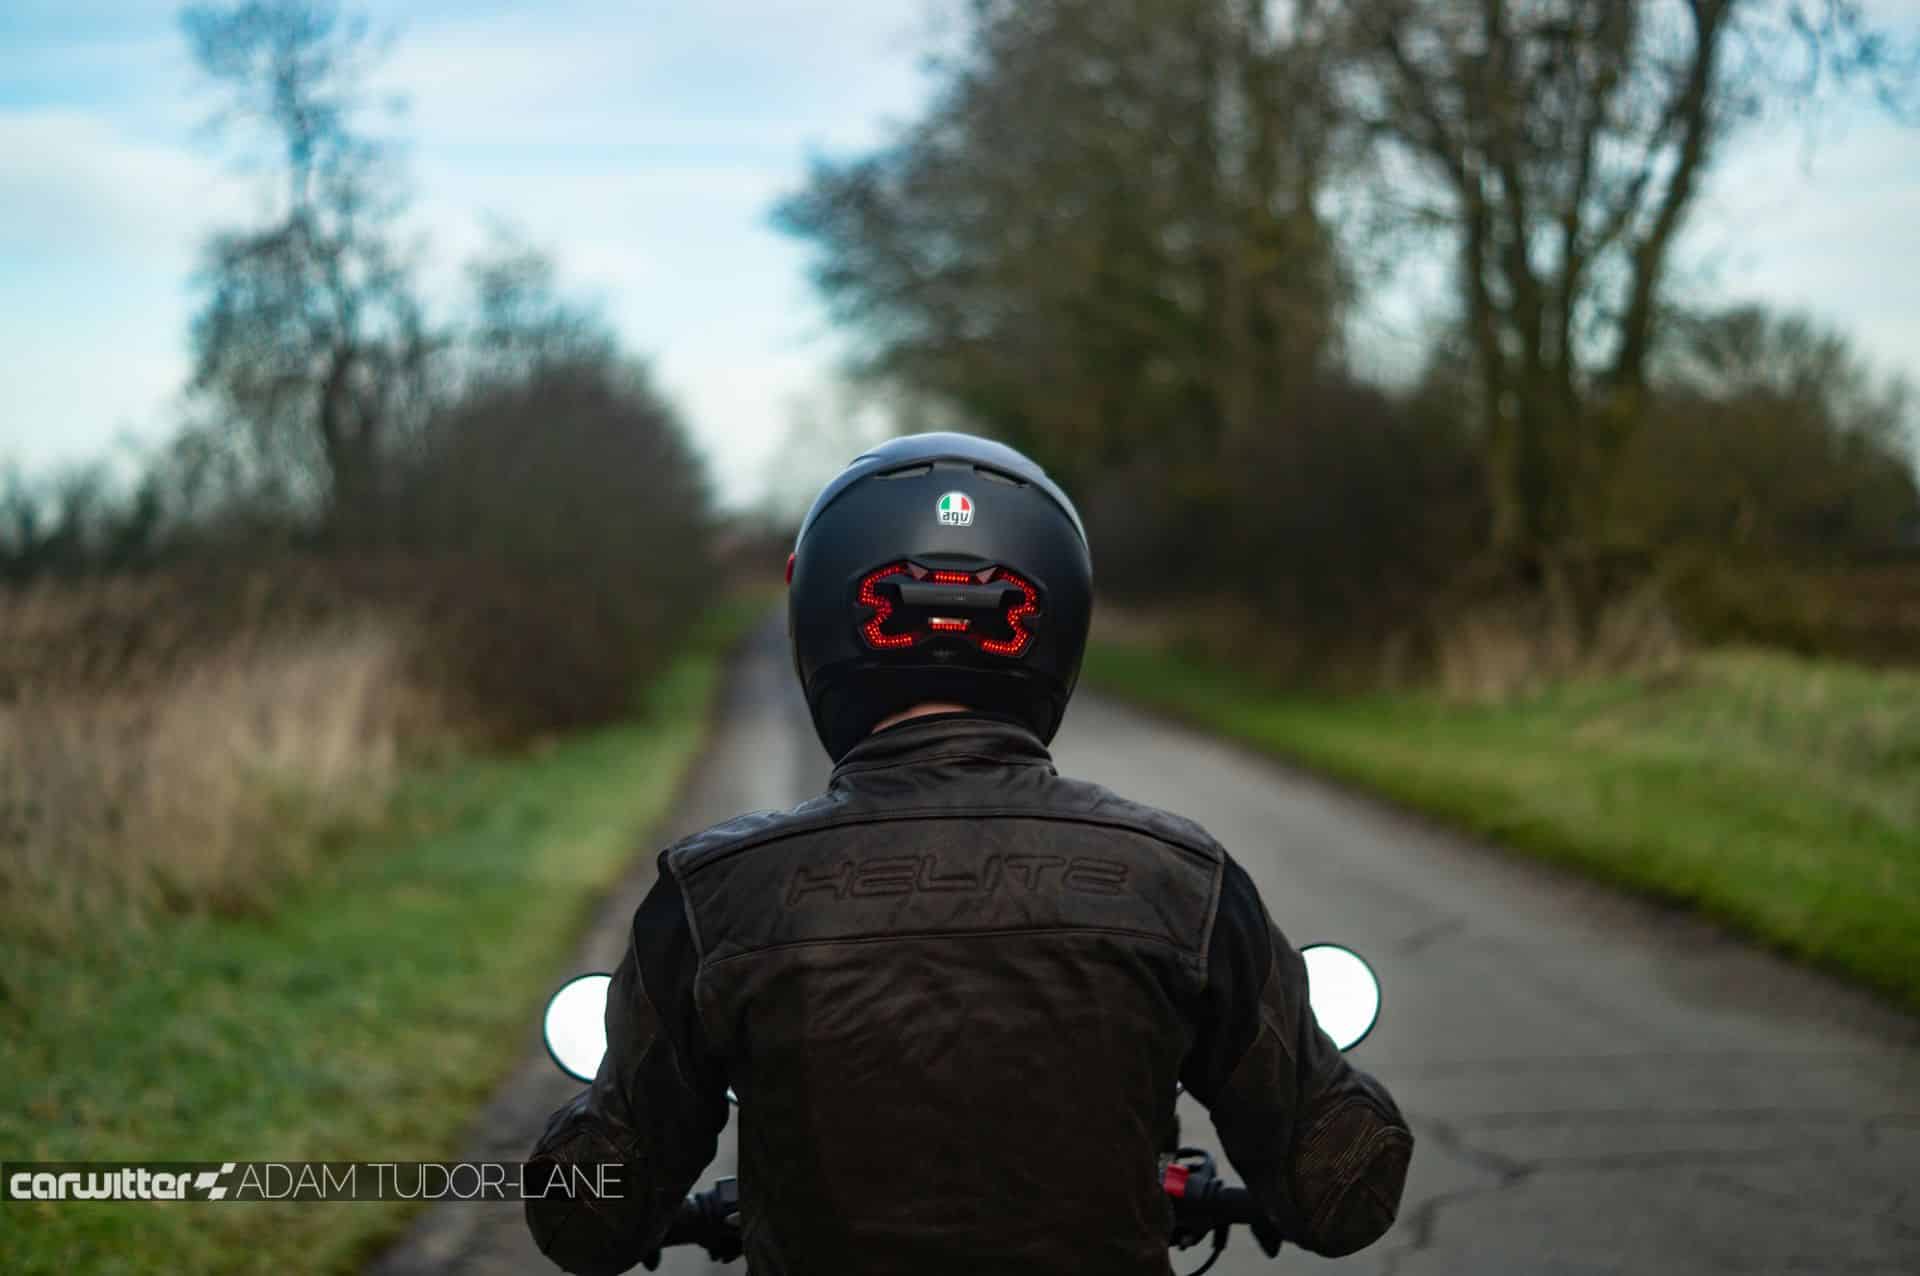
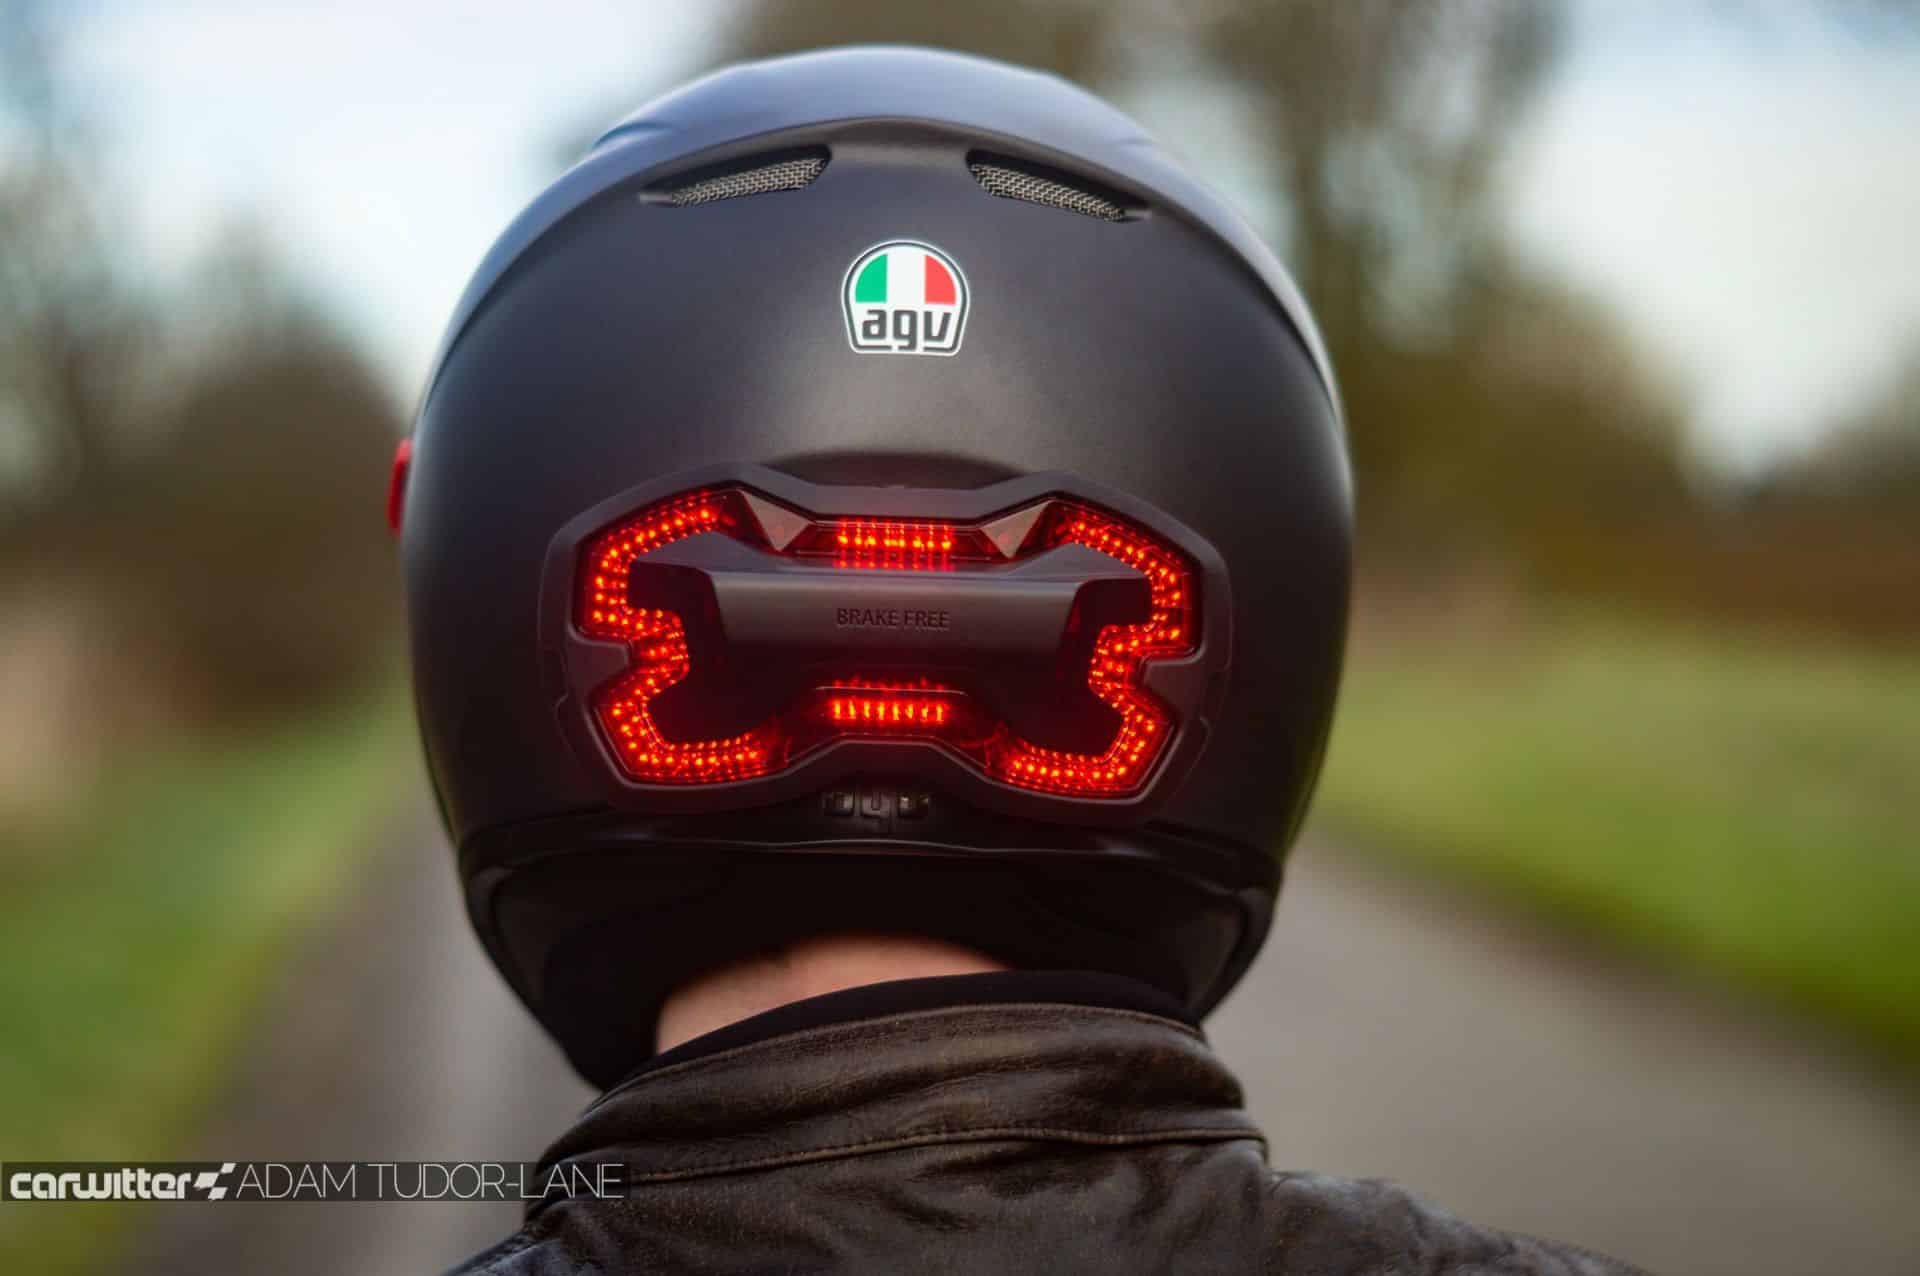
100 ultra-bright LEDs can be lit in three different modes, with the inbuilt sensors detecting deceleration through engine braking, regular braking and under emergency braking.
An IP65 rating also means you can use it whatever the weather.
The whole unit weighs just 200 grams.


Brake Free Installation Instructions
Opening the box, you’re told straight away to read the quick start guide. There’s a cut-out template for the helmet mount along with the mount, a USB cable and an alcohol wipe.
The way it’s meant to work is you line up the template with your helmet, then stick the mount where the cut-out is once everything is central.


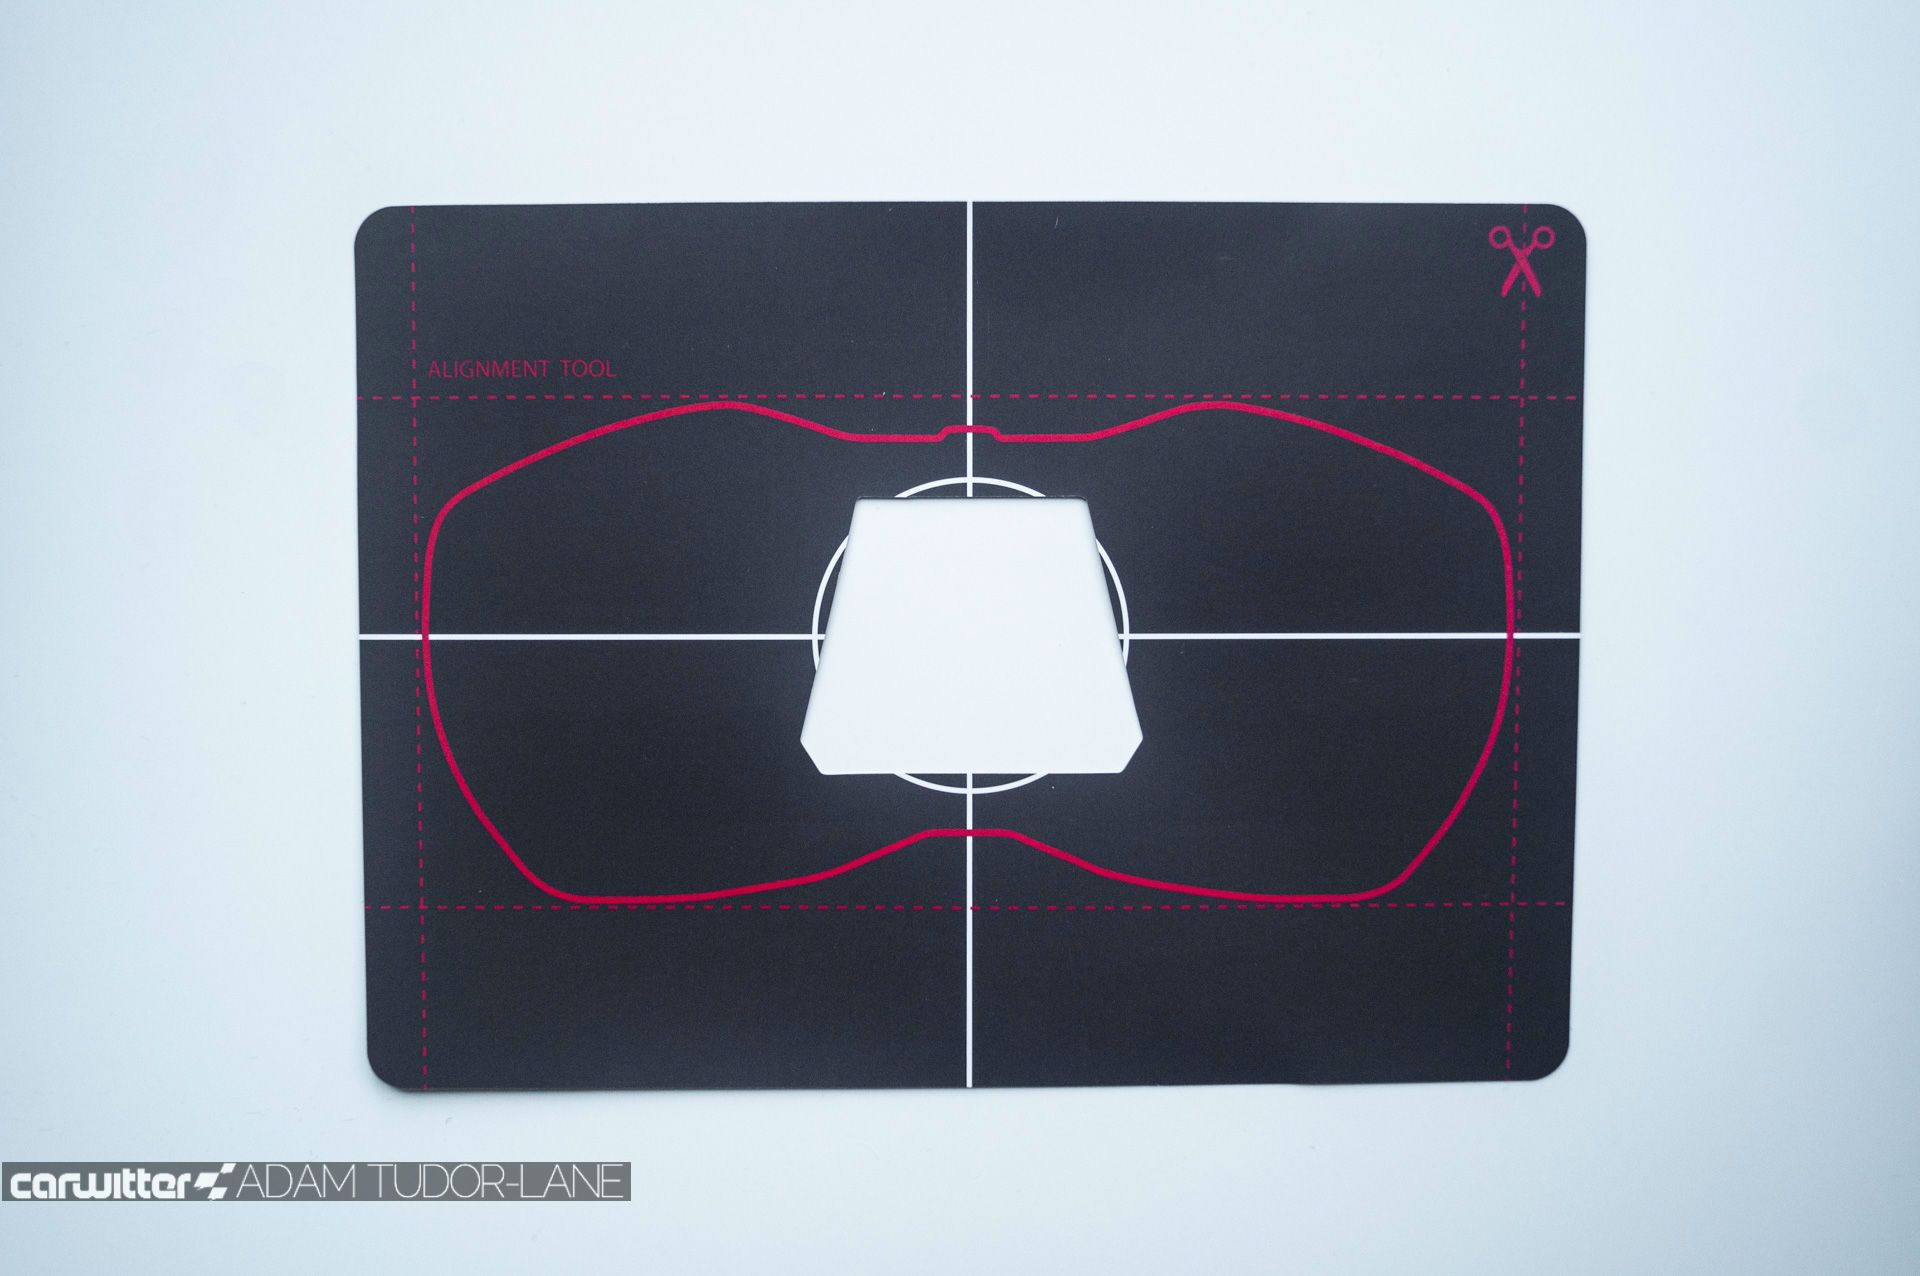

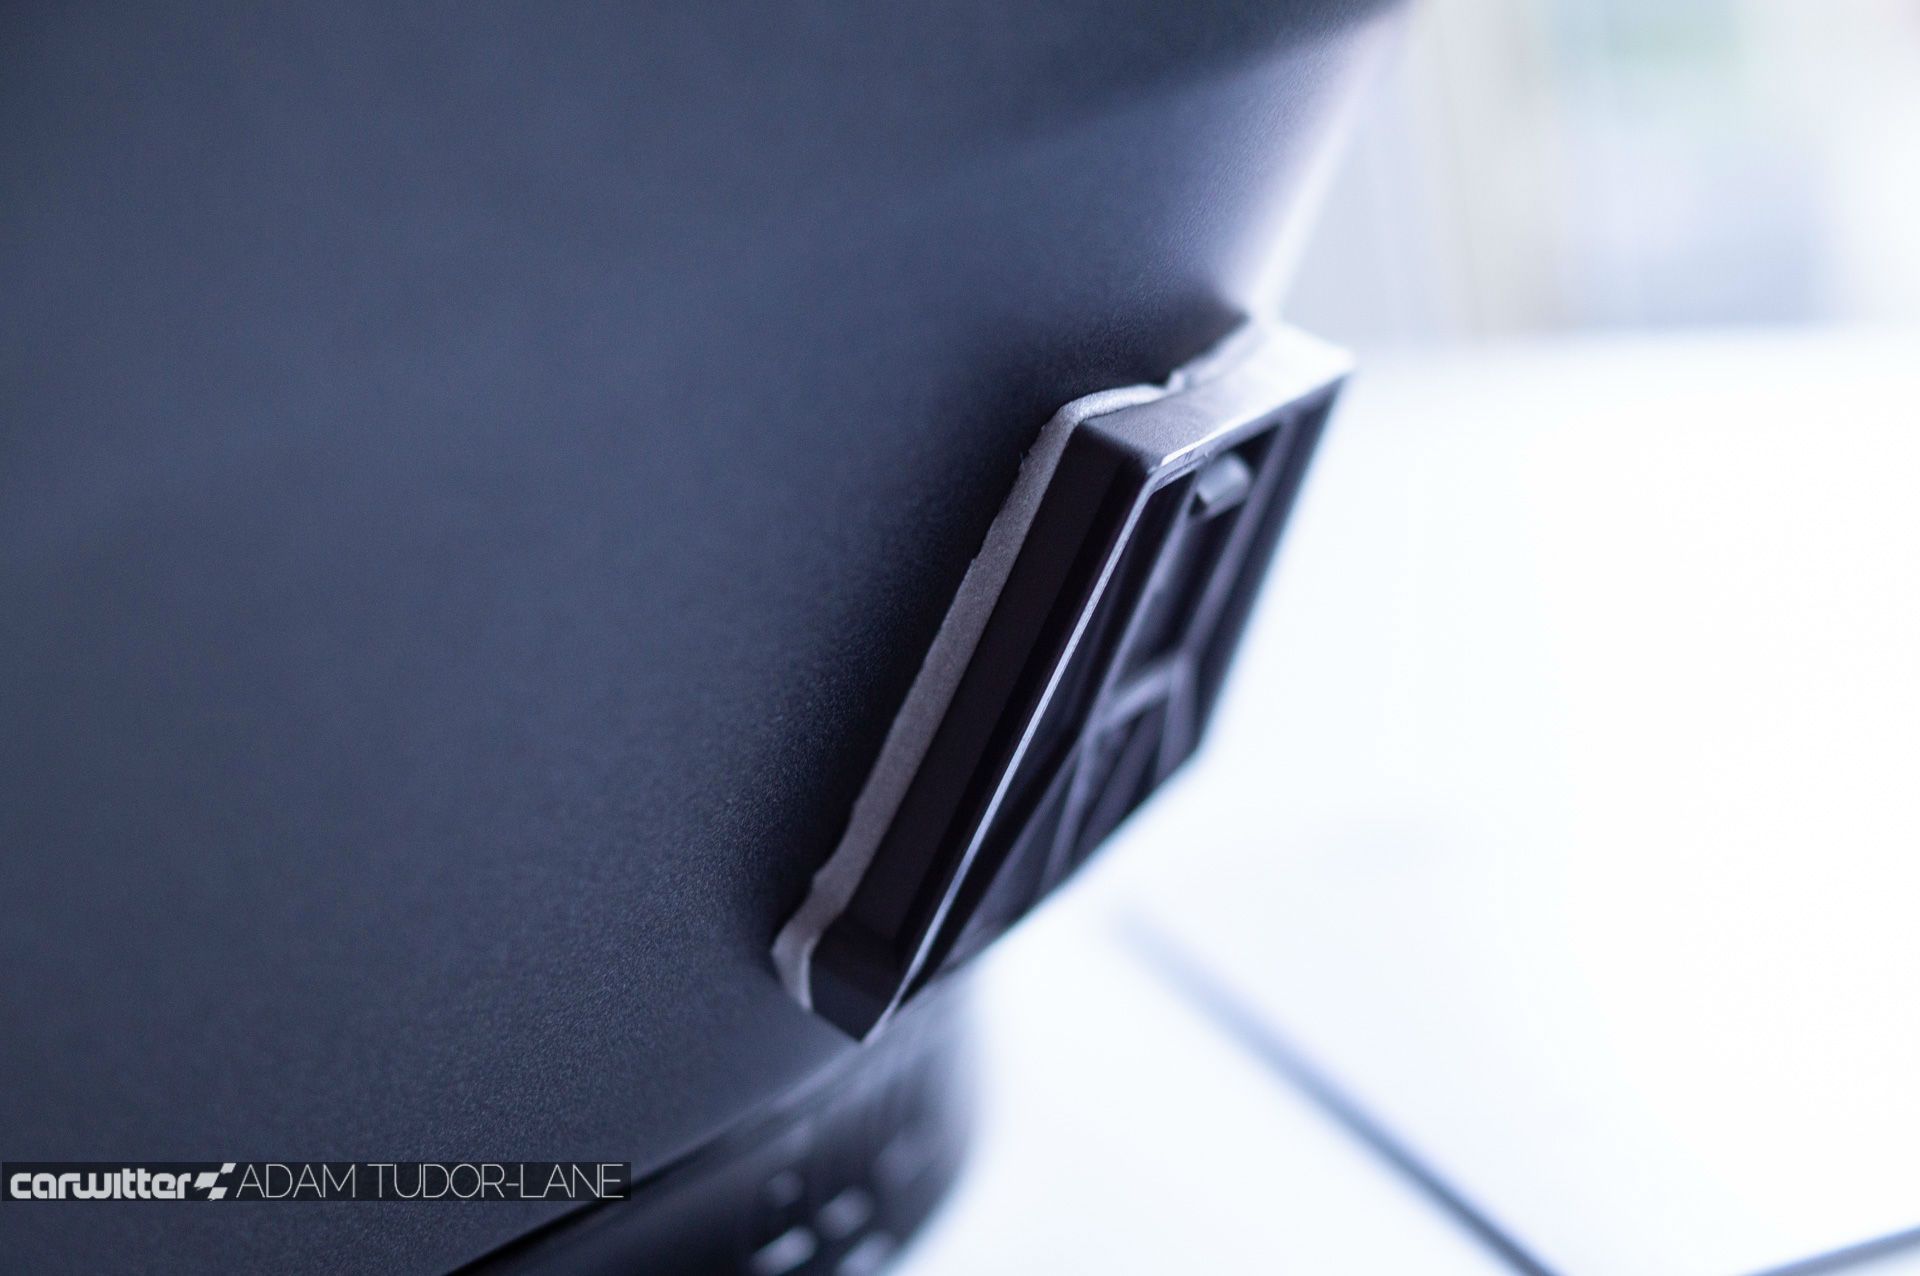
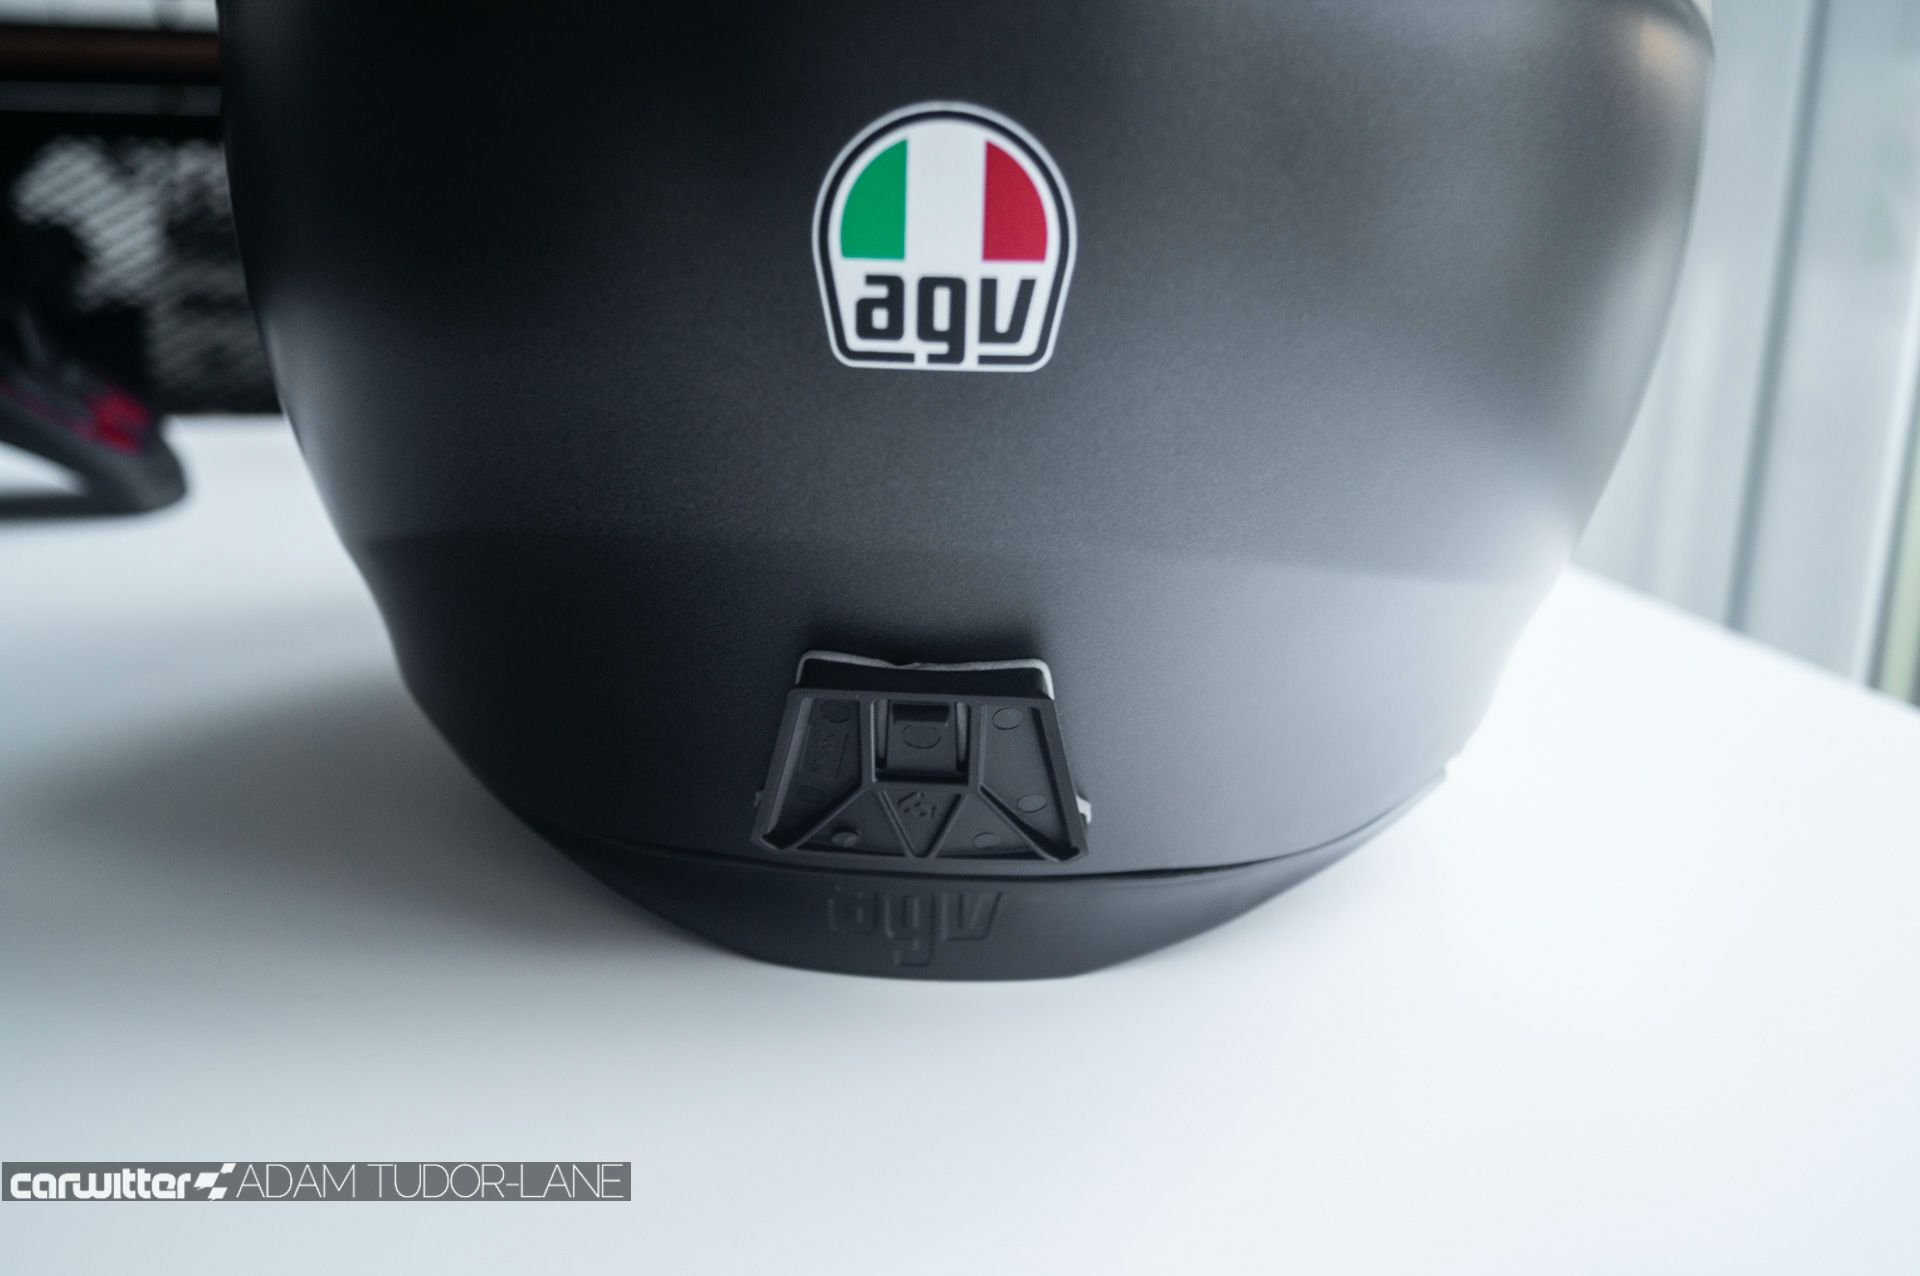
Now I did try this, I really did. But my AGV K-3 has a fairly odd rear end. At the bottom, it curves back inward on itself. But due to the curve, there’s no flat area for the helmet mount. I was able to find the perfect position for the Brake Free, one that sat nicely in the inward dip, but to then line up the template with that concave curve…nightmare.
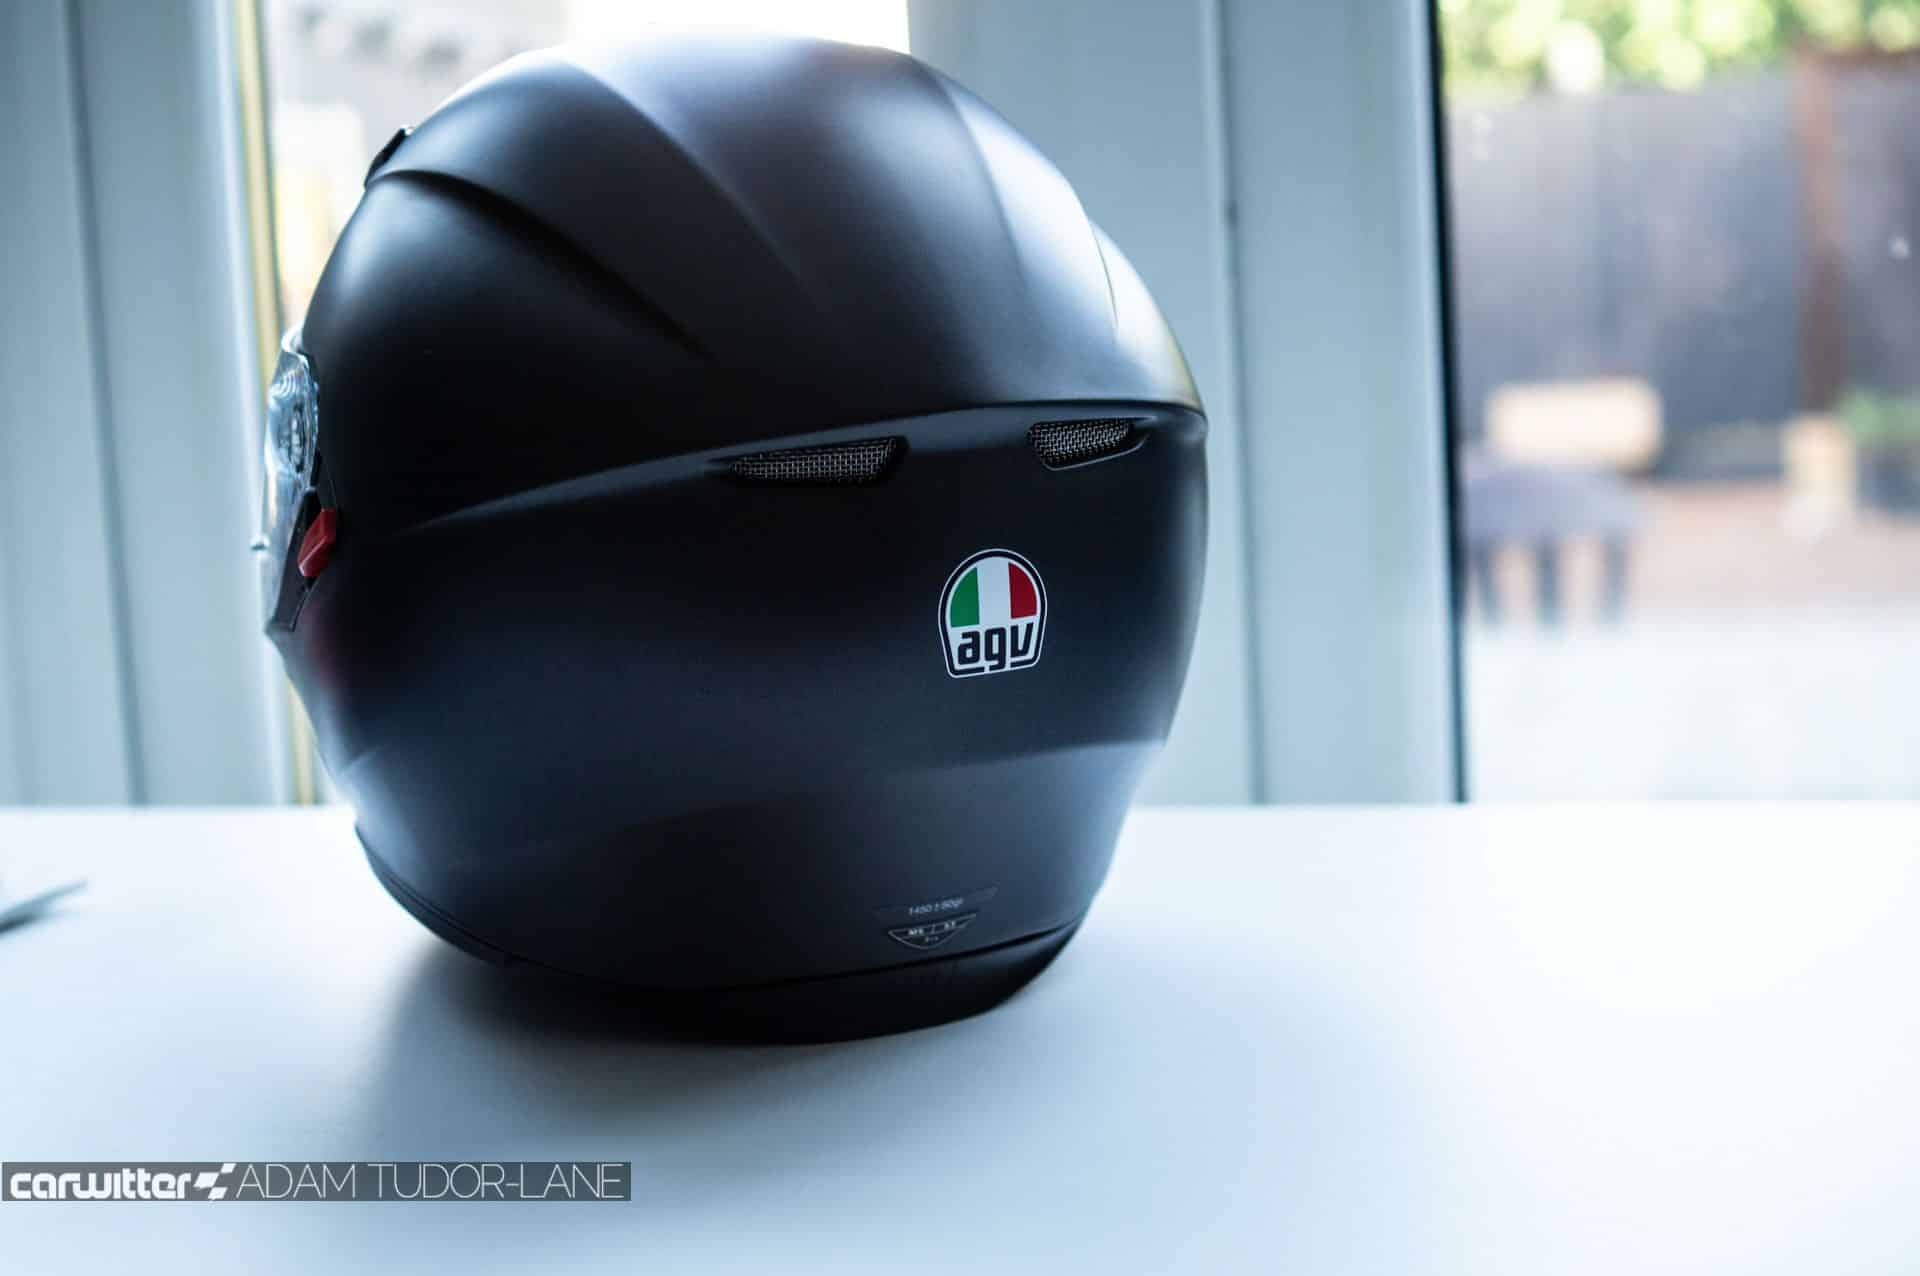

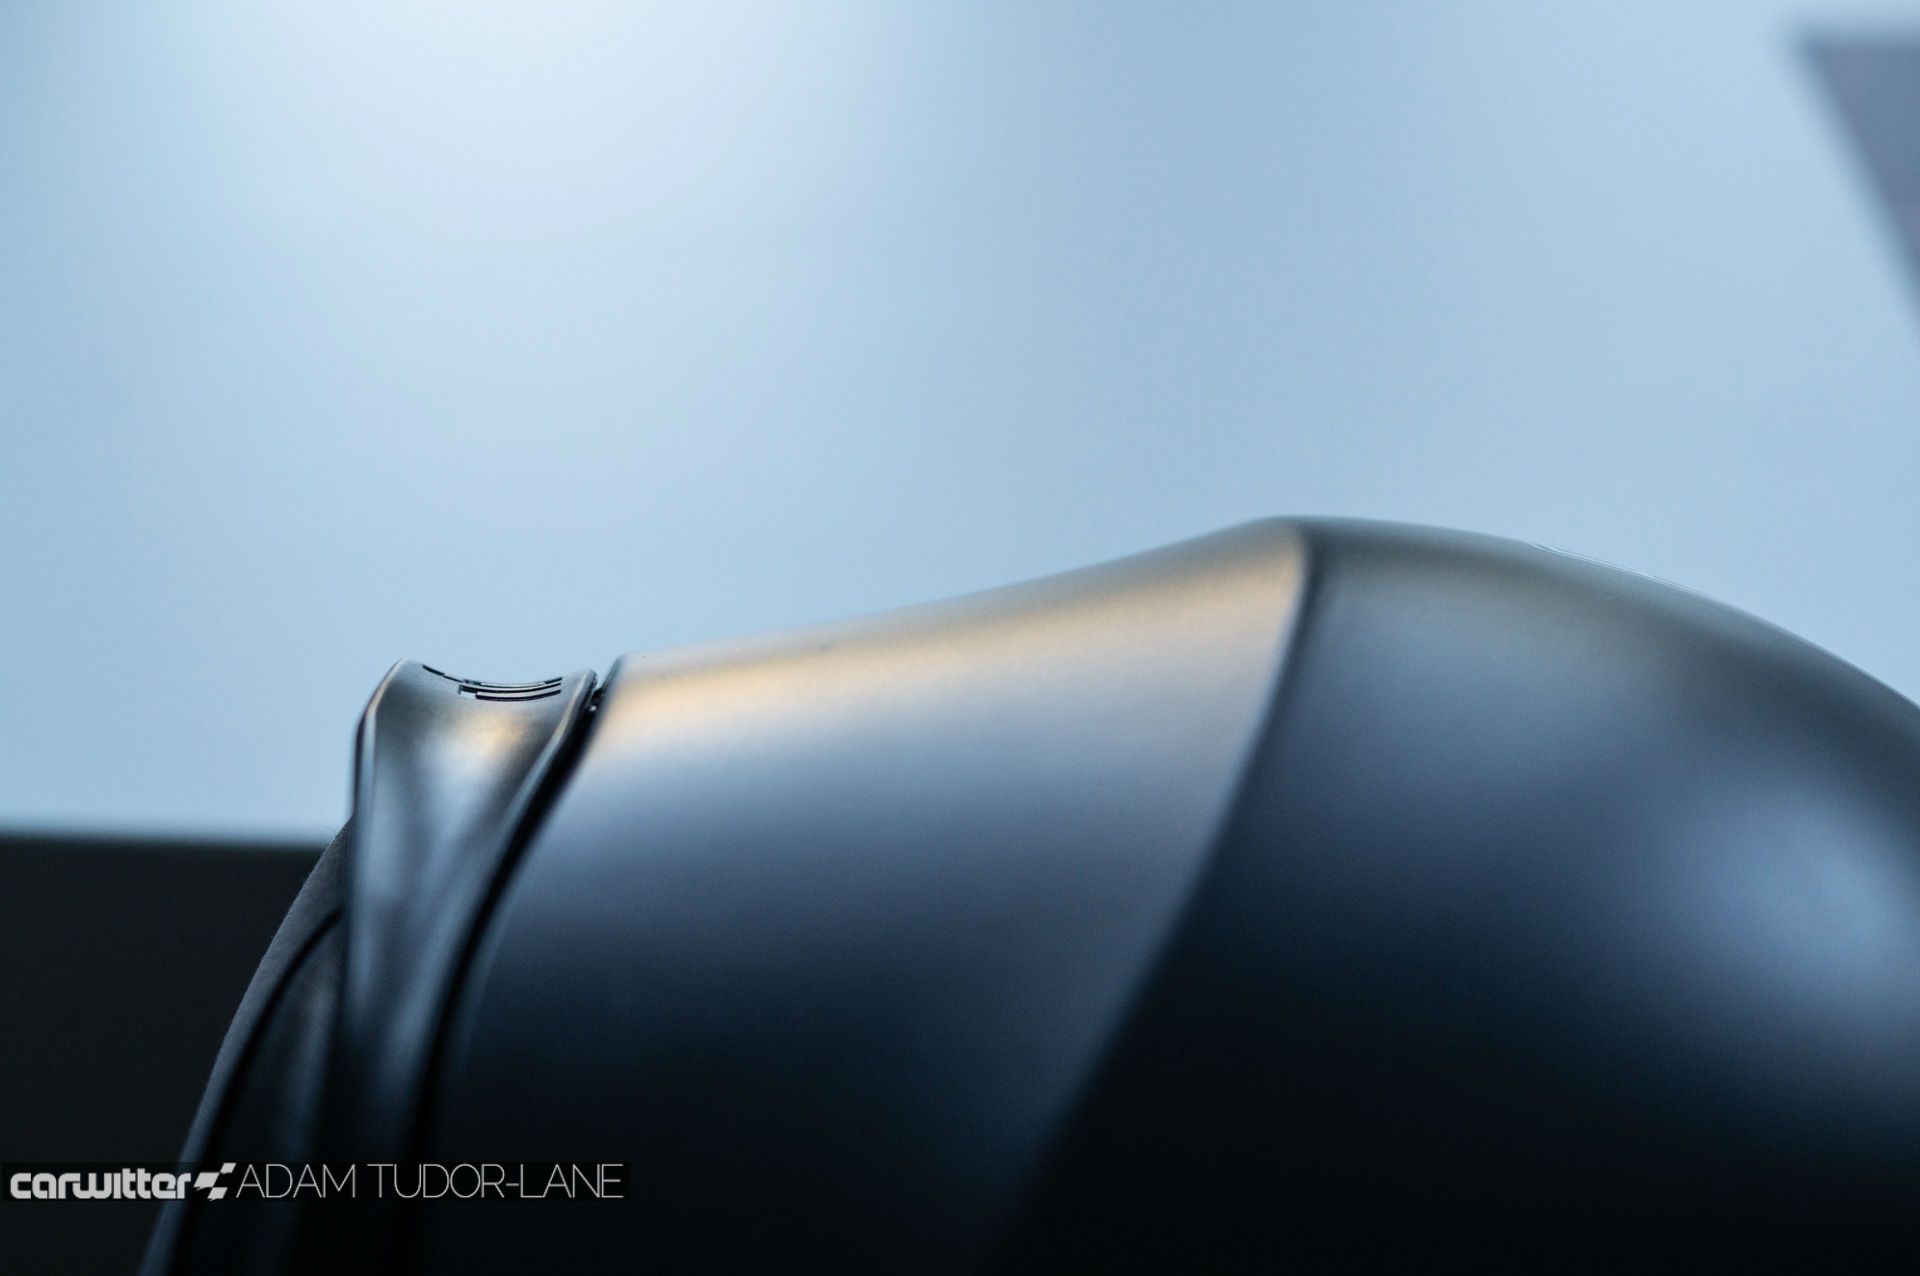
So, I ditched the template and winged it. It was the only way to get the Brake Free sitting in that dip perfectly. Helmets that have a uniform shape to them would be far easier to attach it to.
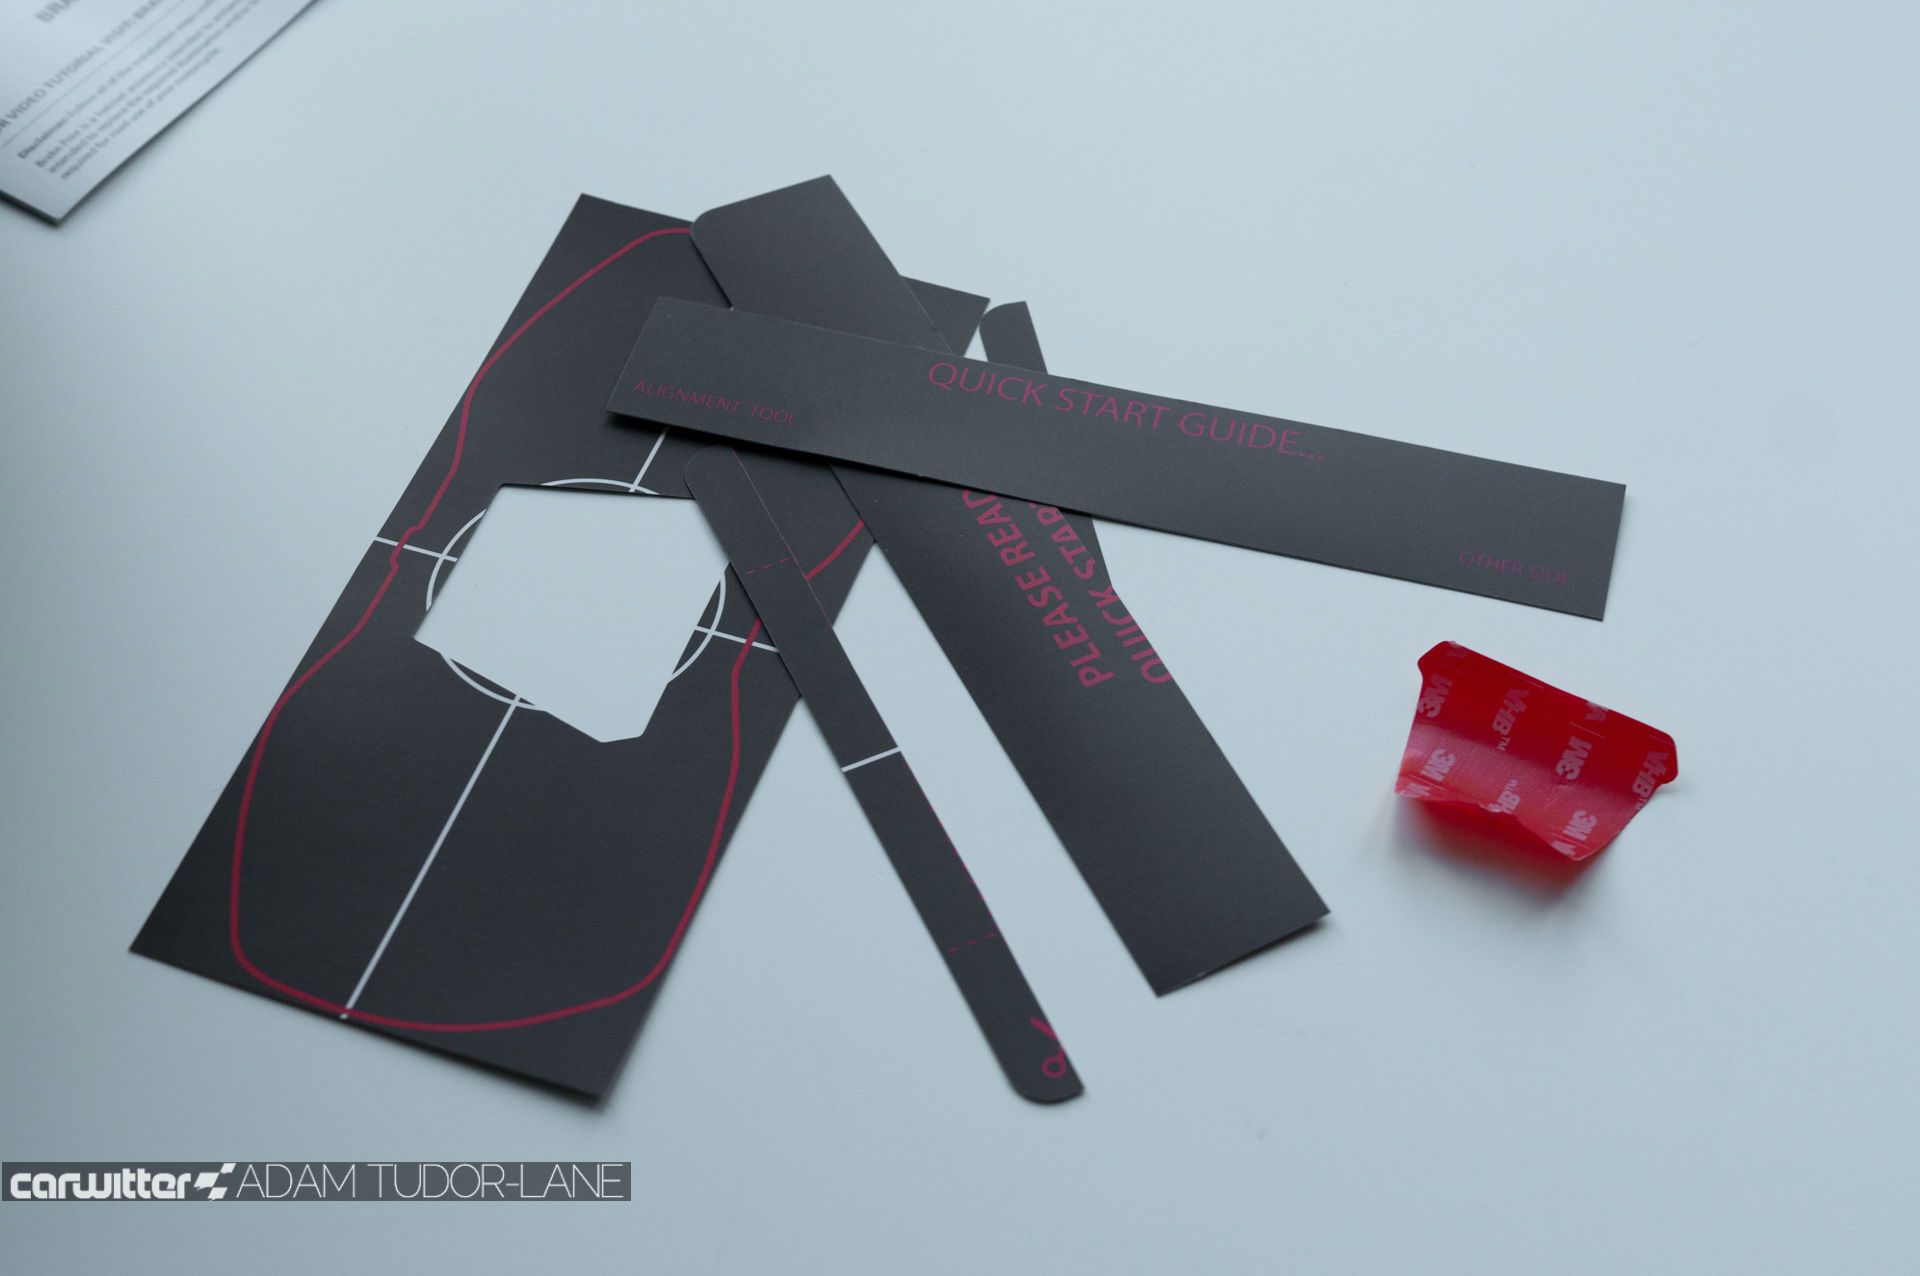
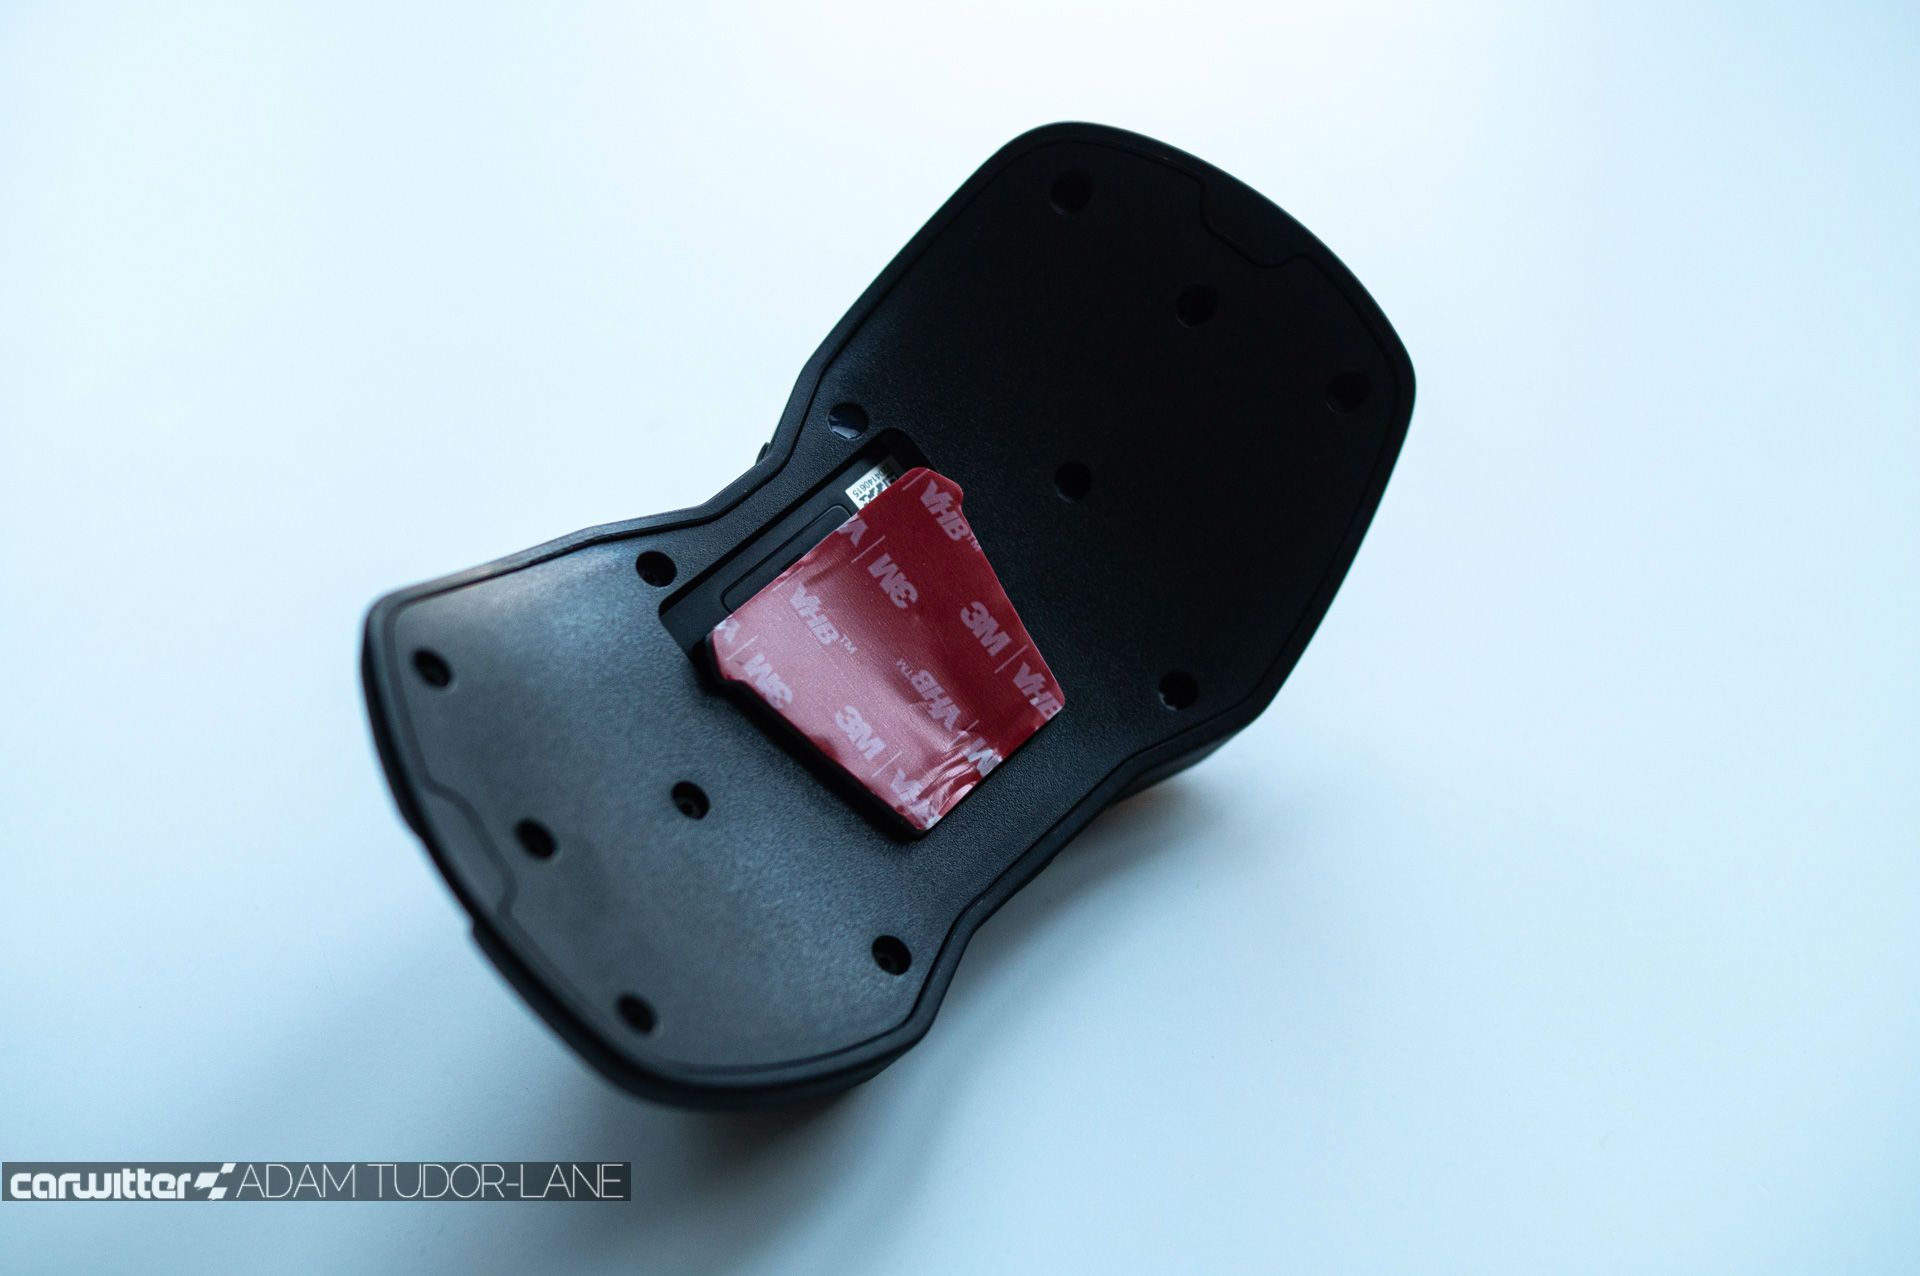
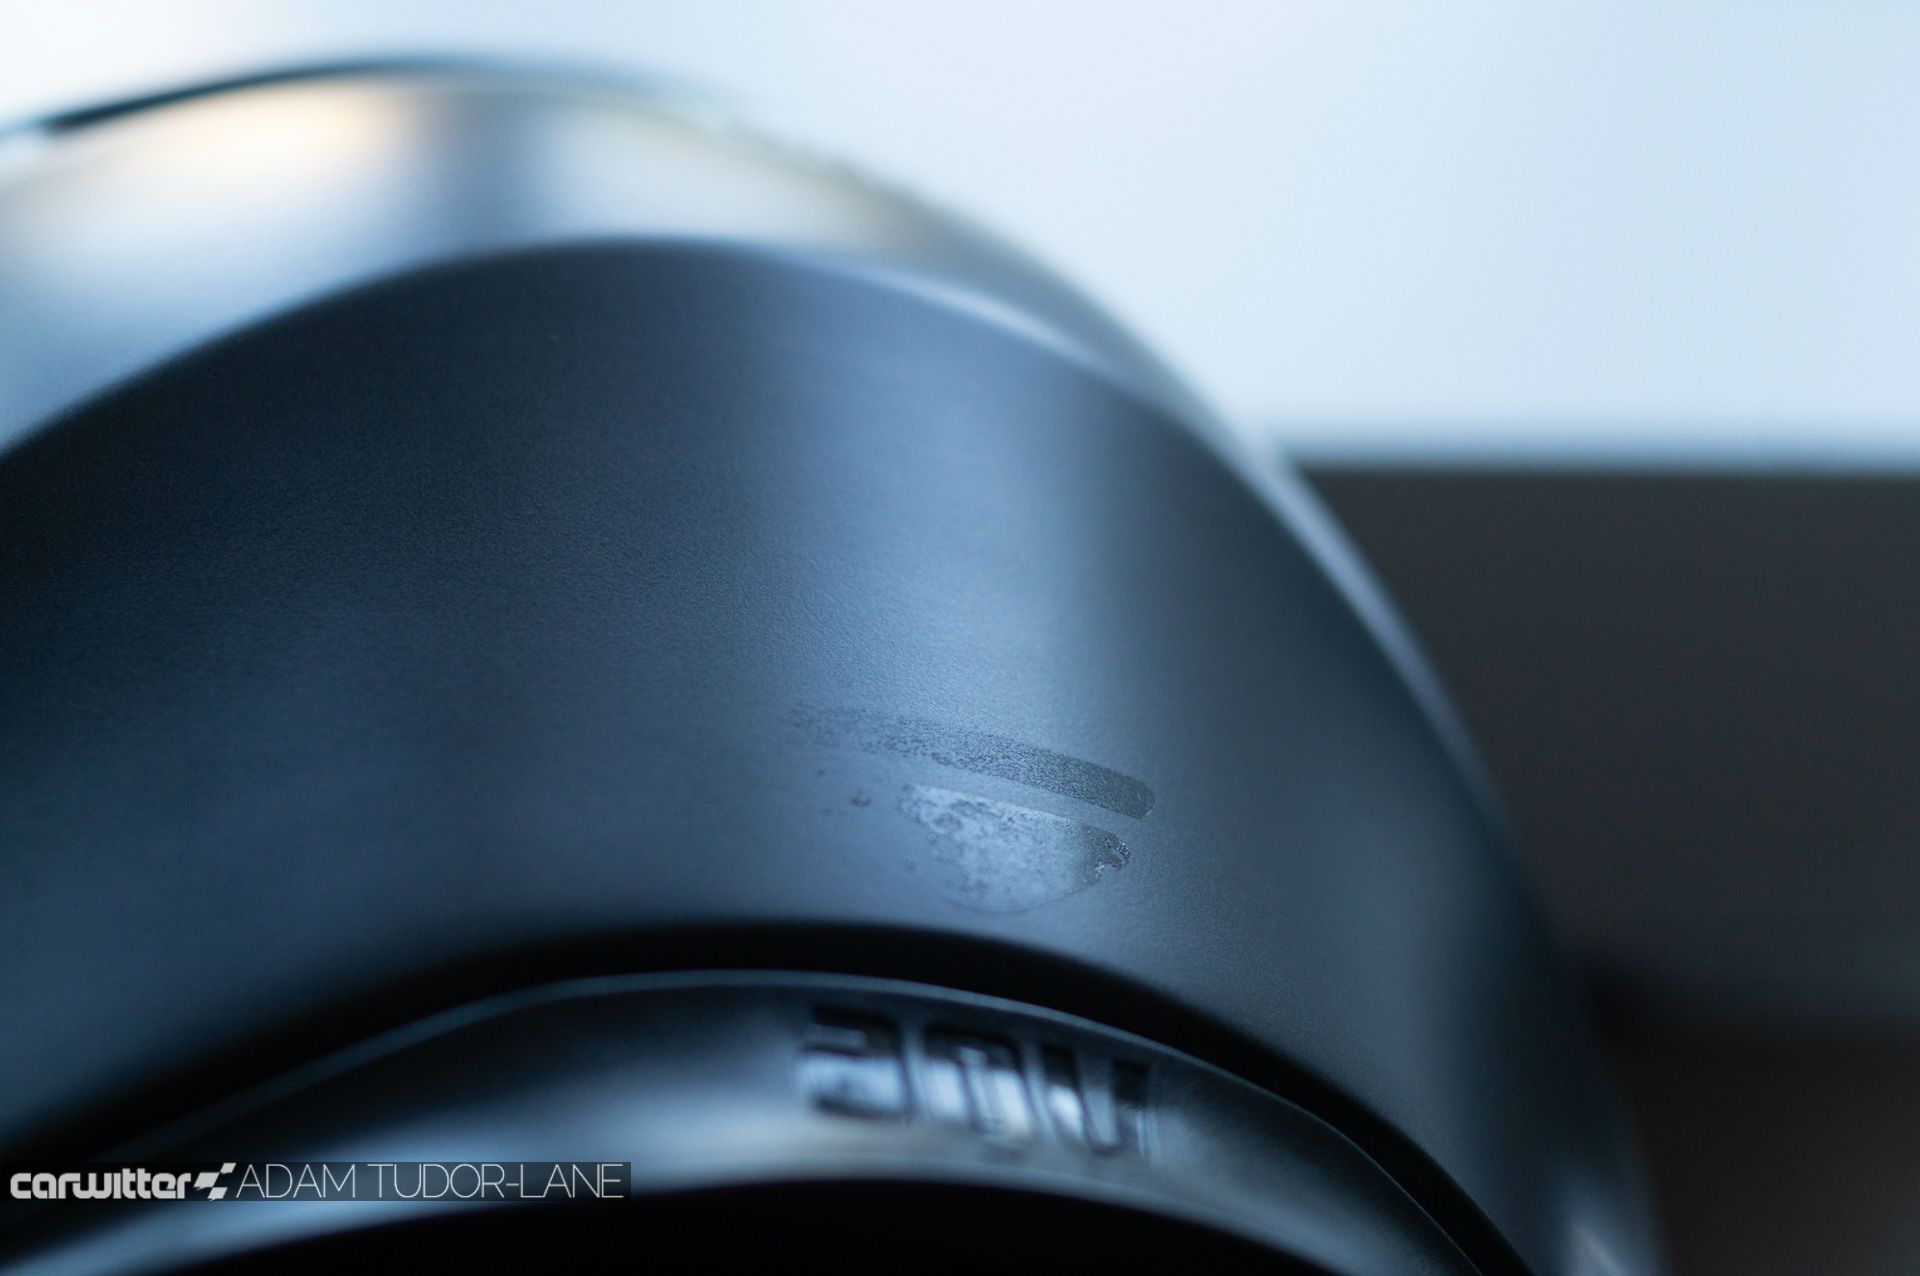

The instructions state that you need the sticky pad to make contact with as much of the surface area as possible if you’re applying it to a dip. A thorough alcohol wipe later and it was time for sticking.
I put the mount onto the Brake Free then lined it up where it needed to be to fit the contour. Once stuck I gently unclipped the Brake Free. Then I held the mount for a good 15 minutes to get enough pressure to squash the pad at the edges so the middle would also stick and not leave a gap.
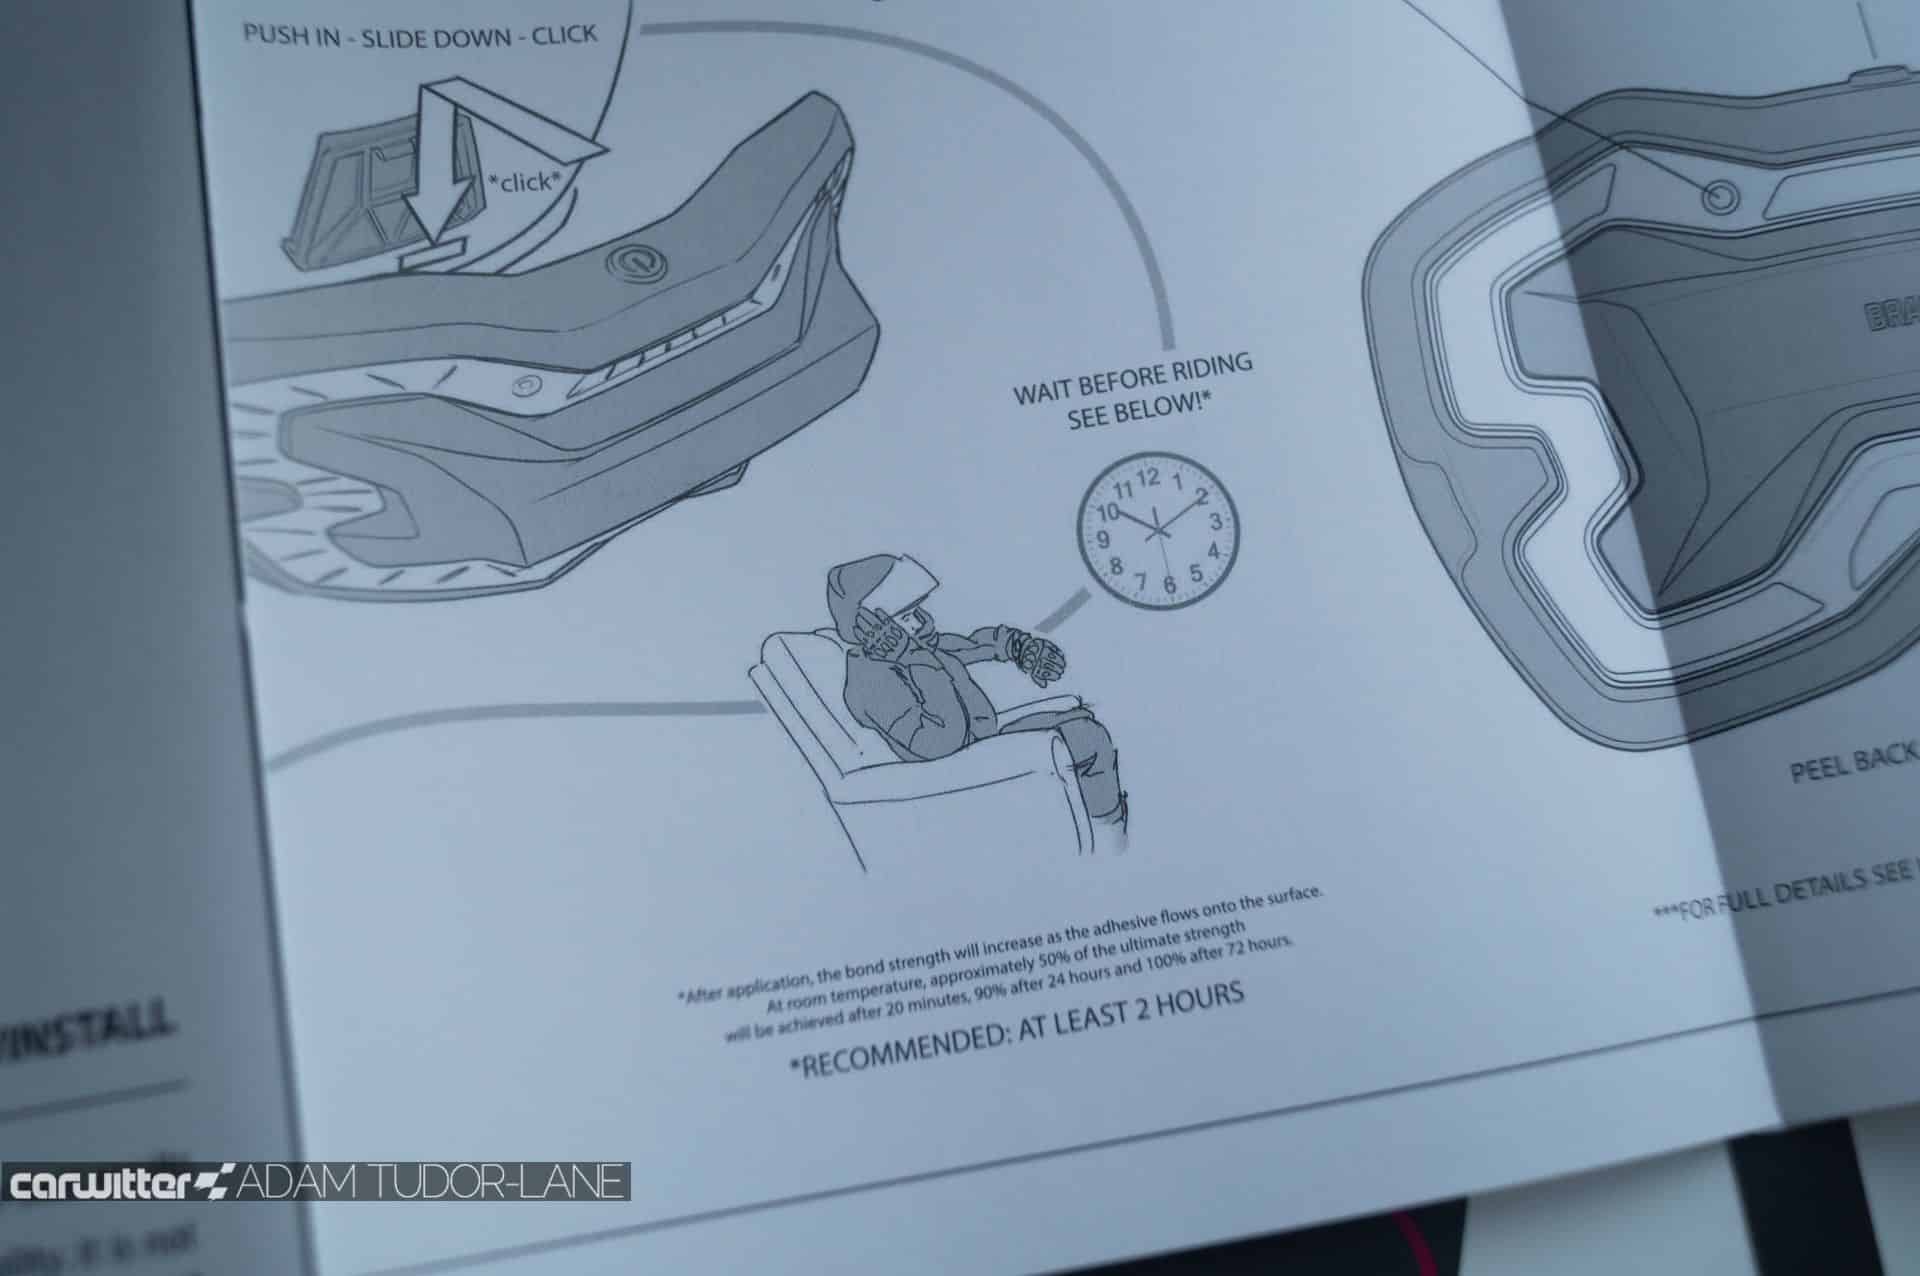
I then waited the recommended full 24 hours before attaching the Brake Free. This then clips in with a firm and reassuring snap.

What’s it like?
For me, additional products like this have to have that OEM aesthetic feel. They need to look right and not like an aftermarket attachment. Brake Free does this from the get go. The plastic is solid, it feels tough and has a matt finish to it, just like many fairings or dash surrounds on bikes.
You don’t notice the weight at all, I thought an extra 200g at the rear of my helmet would tend to make my chin raise, but it doesn’t. It’s totally imperceptible.
Charging is easy, just plug in a micro USB cable, I’m sure they’ll update it to USB-C, which would be handier but it comes with the required cable, so no biggy.

When you power on Brake Free, the charge modes are displayed as 1 blink for less than 35%, 2 blinks for between 35-75% and 3 blinks are 75-100%.
A central switch on the top side turns Brake Free on/off and cycles through three different modes. These are Mode 1 – all LEDs are on. Mode 2 – left and right panels pulsing. Mode 3 – the central top and bottom bars are lit.

Under all three modes, all the LEDs will light to 100% upon sensing any deceleration. Just switch on, set mode and forget about it until you finish your ride.
I got the opinion of a couple of people while out riding. They all said it definitely attracted attention and made them aware that firstly I was there and then that I was braking. You certainly feel safer knowing that even under engine braking, the person behind is being made aware that you’re slowing.

One of my instructors said that even if you’re slowing on engine braking, brake as well, so that your lights are lit. While I still have to do that for my unintelligent bikes, it’s great that if I forget, Brake Free is there to cover me.
A lot of riders have more than one helmet too, and rather than Brake Free being a ‘built in’ option as will likely happen in the future as manufacturers catch on to the idea, you simply clip off the brake light, and clip it on to another helmet – you’ll need to purchase extra mounts but these are cheap enough.

Where can I get one?
Brake Free have their own shop, so buy it direct either from the EU store, or the US one.
The unit retails at €165.25 or $169.99.
Brake Free UK Review conclusion
Whether it’s just being seen up ahead in the distance because I’m more noticeable, or giving the person behind that extra split second for them to brake so they don’t close the gap behind me…or worse, Brake Free feels like an essential addition to any safety conscious rider.