
Since I started to look at buying a BMW i3, there was one major issue with the car; the frunk isn’t waterproof. Thankfully a clever chap in Germany fixed that with the Wokeby BMW i3 Frunk Seal.
What is it?
It’s a plastic lid for the frunk, made from recycled ABS plastic, making it lightweight and in keeping with the environmentally friendly ethos of the BMW i3.


How?
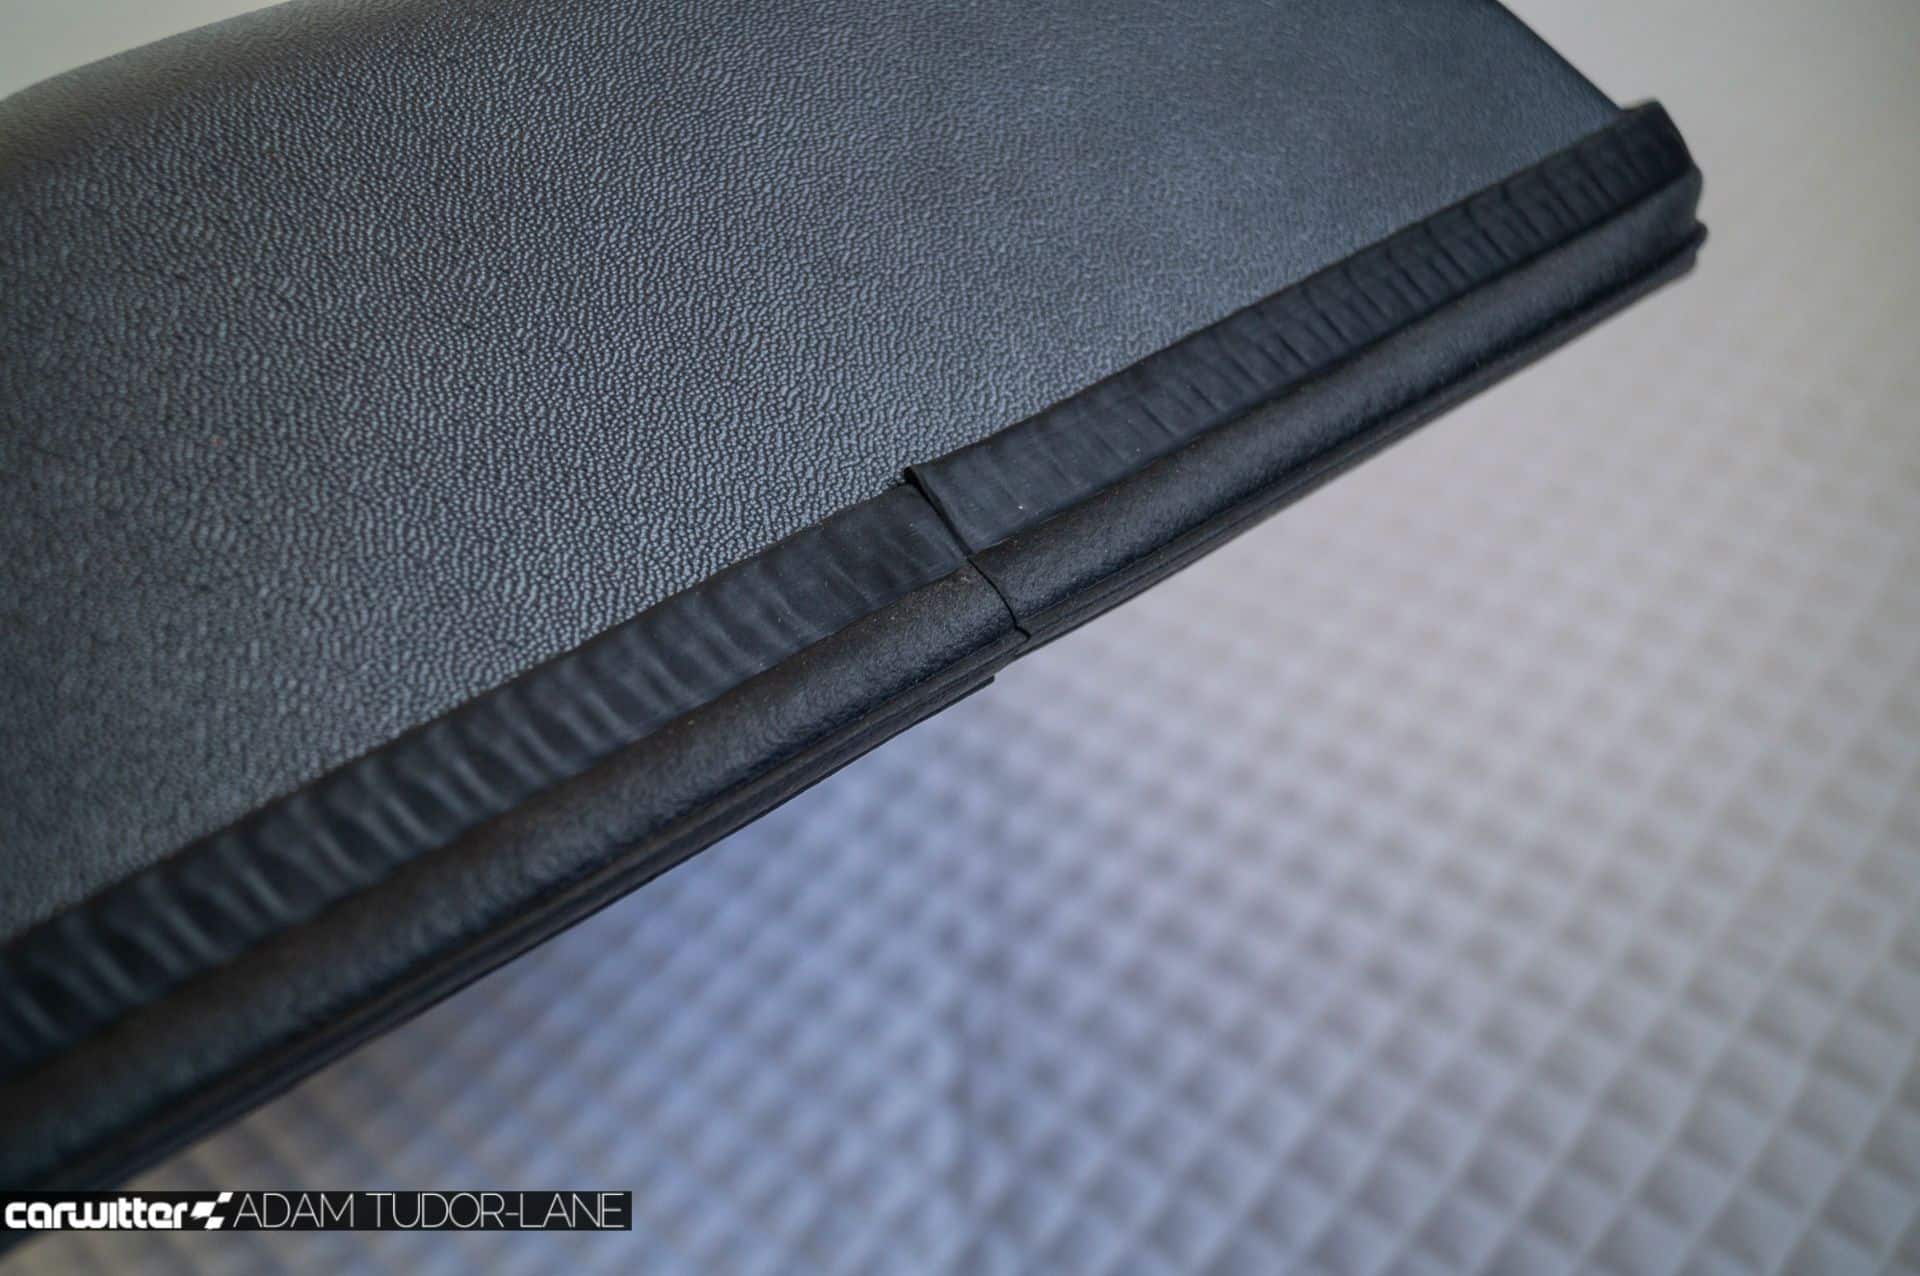
Around the edge of the frunk seal is a thick rubber gasket that gets squashed onto the frunk when the bonnet is closed, thus making it waterproof.
The frunk seal sticks to the underside of the bonnet with heavy-duty Velcro in three places, allowing you to remove it at a later date if you need to.
It takes about 20/30 minutes to fit in total and can be done by anyone. Let’s show you how it’s fitted first.

Wokeby Frunk Seal Fitting Instructions
If you want to make the frunk totally dirt/waterproof, there are several fairly large holes in the bottom of the frunk that can let in dust when driving. I wanted the frunk to be a fully clean space to store all the charging cables and the like, so I sealed these up first.
Cutting some duct tape, I placed this on the reverse of each hole, making sure it was as secure and firmly fitted as possible. On the other side, I then used some clear silicone adhesive to fill the holes. It was a pretty neat job overall and won’t be seen when the frunk is full anyway.


Step 1: Measure the centre line
To make sure all my measurements were correct from the centre of the bonnet, I used some detailing tape to run a straight line from the screw where the BMW badge sits, all the way down to the bottom edge of the bonnet.

Step 2: Isopropyl alcohol
Make sure you have some rubbing/isopropyl alcohol to hand; you can either buy a bottle of it or use small wipes as I did.
Step 3: Remove the overspray
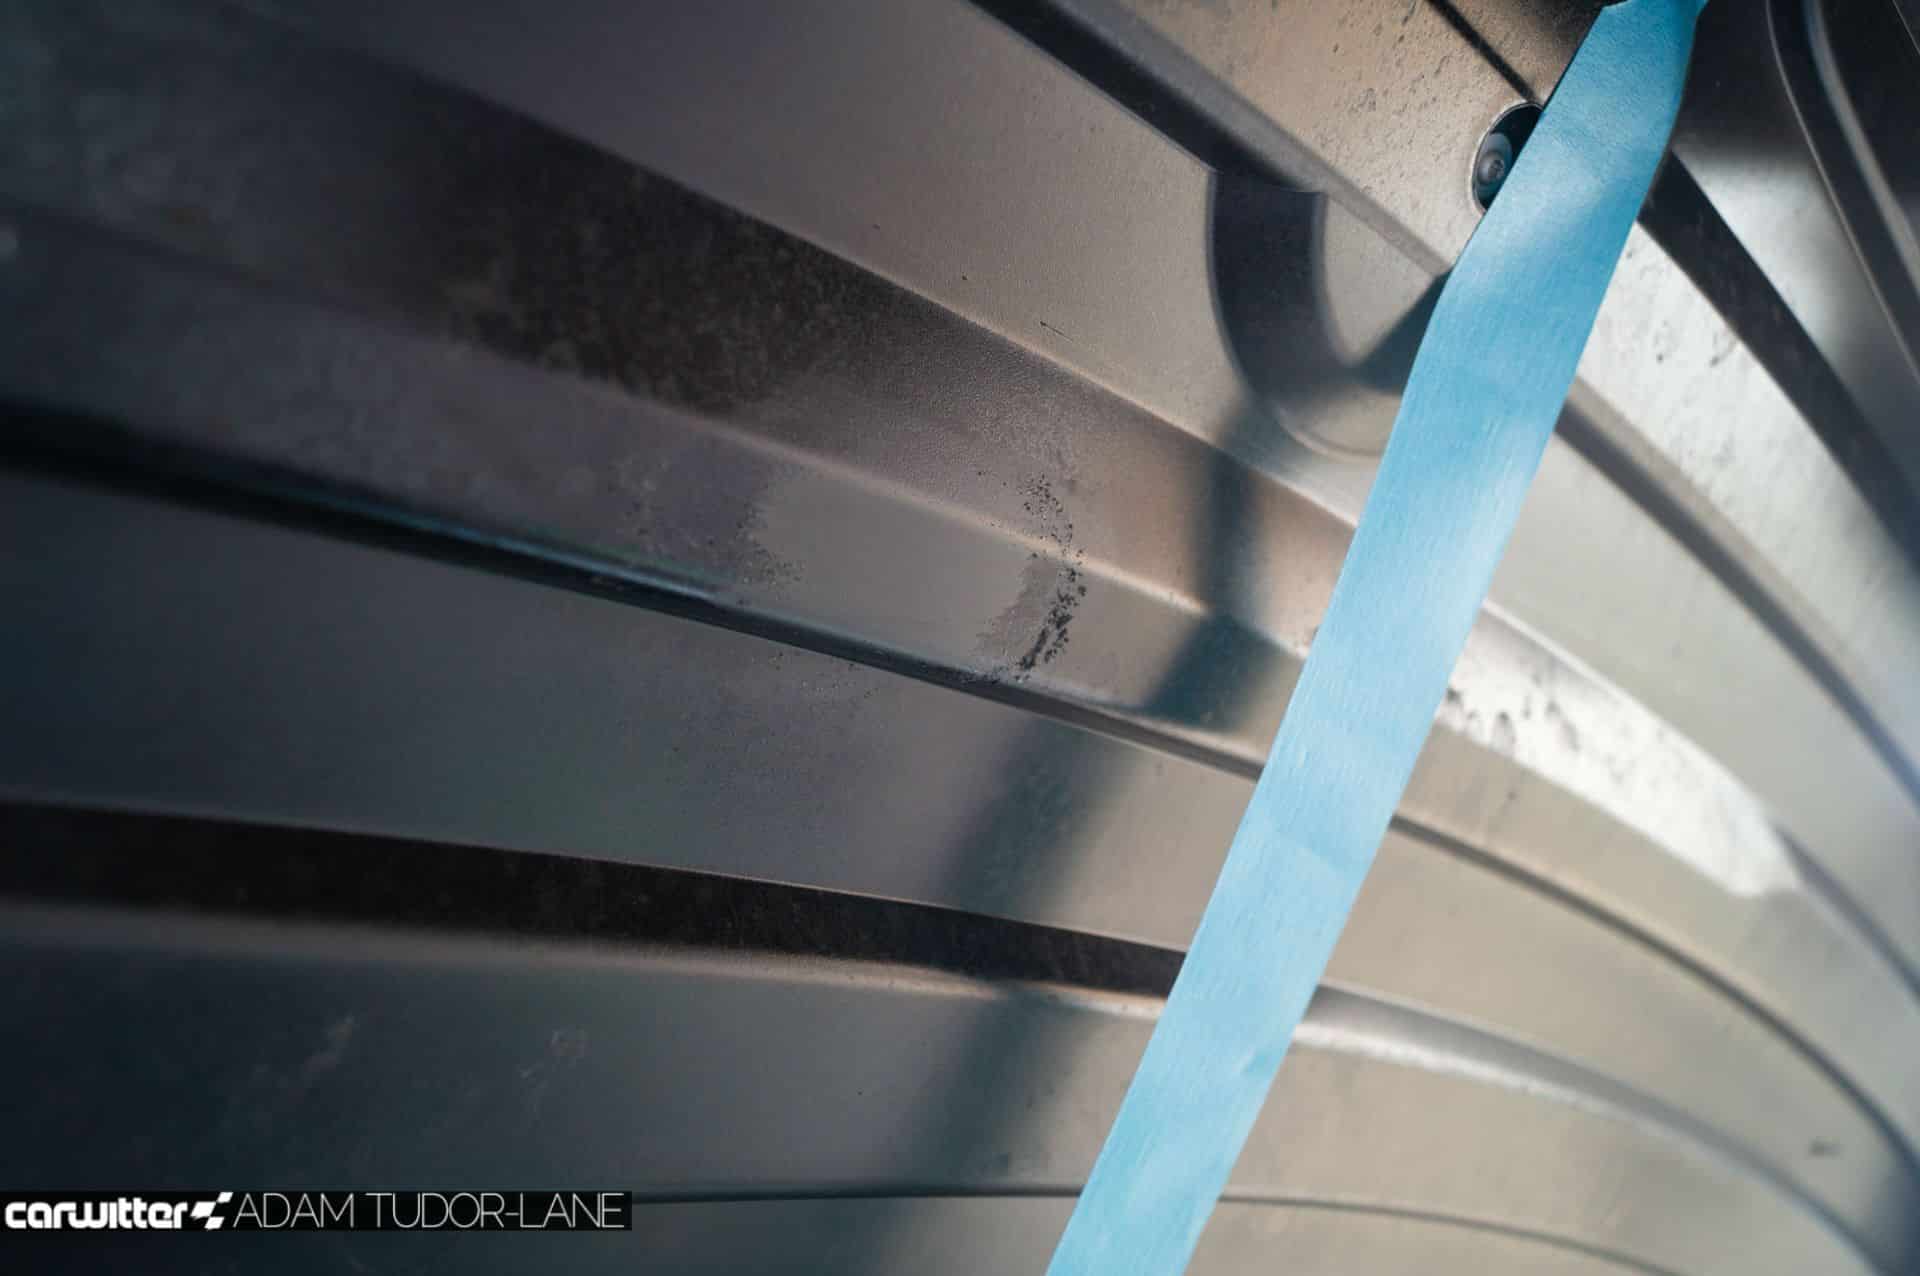
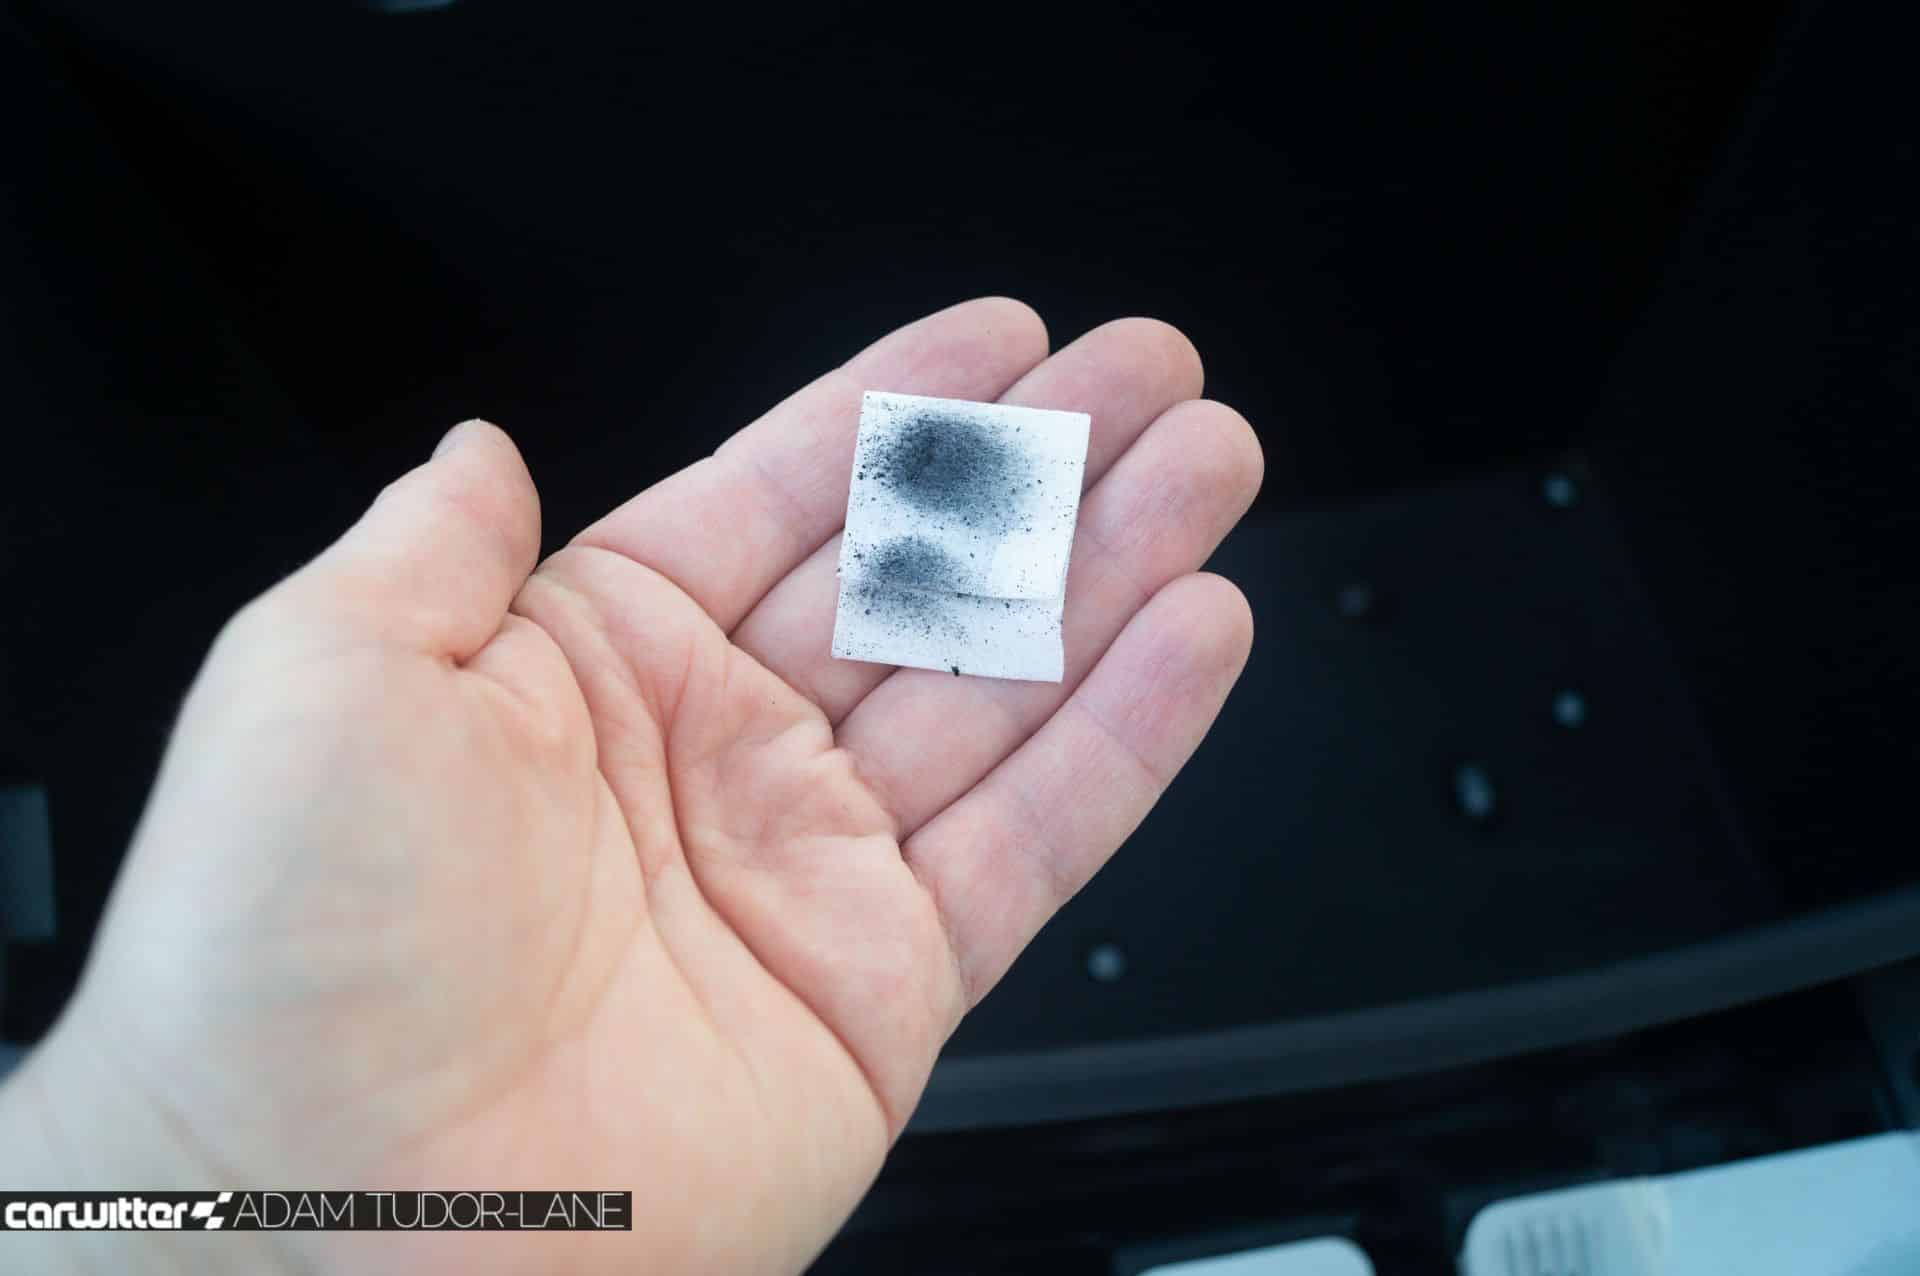
Take a tape measure and find the locations where the sticky Velcro will go in Step 6 on the Wokeby instructions. Measure one, then rub away a section about 5-10 cm long; you’re removing the overspray of paint from where the bonnet was painted.
Without doing this, the Velcro won’t stick.
Step 4: Apply foam pads
Lift out the fabric covers on both sides and make sure the top edge of the frunk is clean – I gave them a quick wipe over with the isopropyl.
Now stick the four little foam tabs on the sloping sections in each corner of the frunk.
Re-insert the fabric covers; they should now sit slightly on top of the foam sections.


Step 5: Stick the Velcro onto the bonnet
Measuring again from the centreline tape, you now need to stick the Velcro strips. These are really sticky, and you only get one shot at it, so take your time.
A = 23.5 cm from centre
B = 5.5 cm from centre
C = 15.5 cm from centre
Press them onto the reinforcement ridges, then remove the protective film strip from the other side.

Step 6: Frunk seal alignment
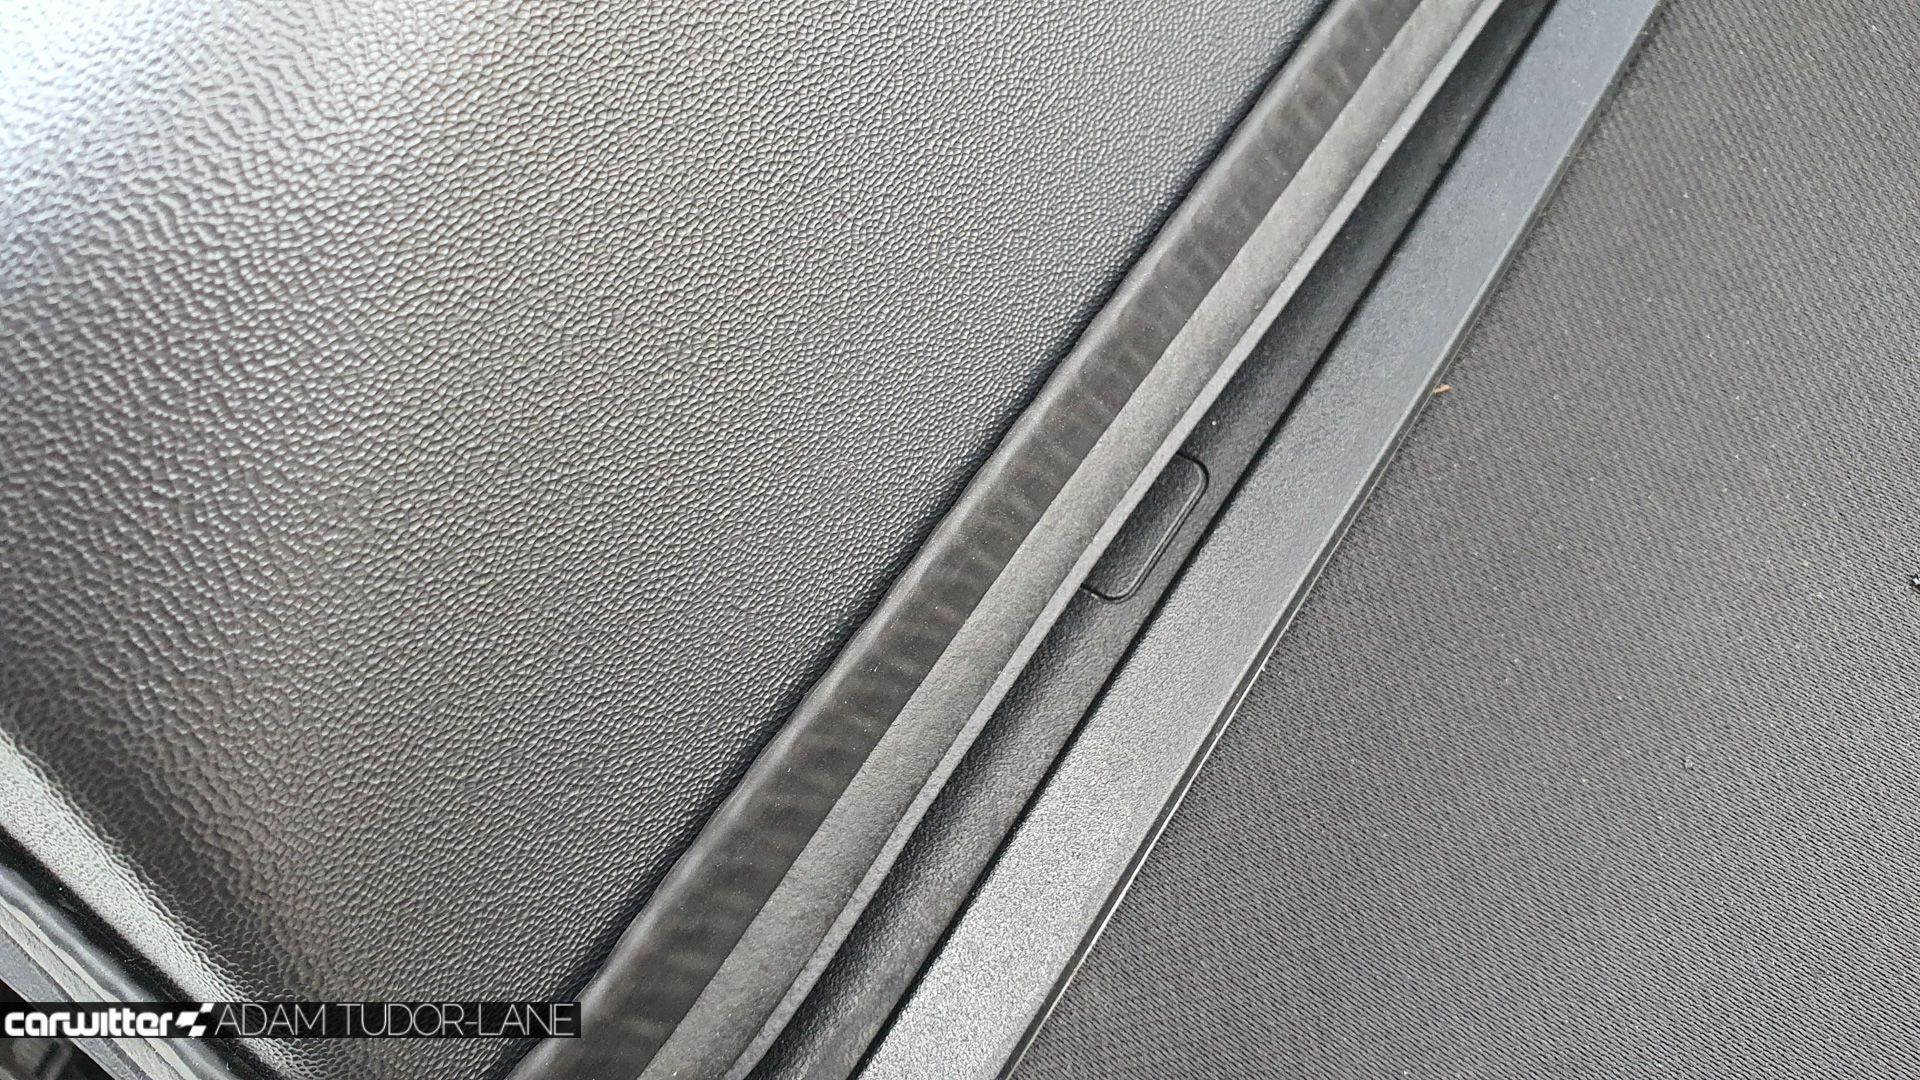
Take the frunk seal and place it on top of the frunk; line it up to make sure there’s a slight overlap on each of the circular indents on both sides. Also, make sure the frunk is pushed towards the rear edge so it will seal properly when stuck.
Now slowly close the bonnet, allow it to latch, then firmly press down with hands on each side of the BMW badge.
Leave it for at least 10 minutes to stick.



Step 7: Finishing touch
After 10-15 minutes, unlock the bonnet. Give a firm press and hold on the location where the Velcro patches are for 30 seconds or so – with your hand on the other side of the bonnet for support.

What’s it like?
Before installing the Wokeby frunk seal, I cleaned out the frunk and sealed it from dusty/dirt. Four days later, I opened it to find a ton of tree blossom not only covering my charging cable bags but collecting in the bottom too.


Since having the frunk seal, it stays completely blossom free! There’s also no water in the corners after I wash the car, and the whole thing has stayed watertight through two days of continuous rain.
I have no idea why BMW didn’t implement something like this initially. It seems daft using the frunk to store your charging cables for them only to get wet and damp.
Now I have my 13amp plug, Type2, first aid kit, can of tyre seal, a pair of gloves, tyre pump as well as the warning triangle and the original pump/tyre sealant all cosy and dry.

The rubber seal around the edge of the frunk seal is incredibly chunky, maybe 2/3cm; it squashes down nicely and so far hasn’t let anything in. Overall the build quality is second to none; it looks and feels like an OEM accessory.
It’s also incredibly light, so you don’t have to worry about extra heft being attached to the bonnet.

I can only applaud Wolfgang for his ingenuity, design and then taking this to manufacture all on his own. It’s an incredible achievement to see a problem, develop a solution and then market it off your own back.
Wokeby also sell a trunk extension for the BEV only i3; this gives you an extra 35 litres of space for your charging cables etc, in the area where the REx normally lives.
Again, BMW should have thought of on the BEV model; it frees up the frunk for actual storage, rather than being used as a cable store as it usually is.
Wolfgang is also working on a charging flap solution so that those ugly rubber bungs can become a thing of the past – fingers crossed this comes to fruition as it’s another elegant solution.
Where can I get one?
Both the Frunk Seal and the Trunk Extension can be purchased directly from Wokeby; the retail on the Frunk Seal is €99.98 plus postage from Germany.
You can follow them on Instagram here.

